


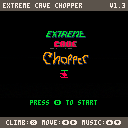
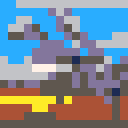
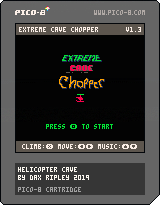
Dodge rocks while avoiding the cave walls! Every 100 points, the cave colour changes, and your speed increases slightly. Inspired by the old Helicopter web game from the late '90s / early '00s.
v1.3 changes:
- Added rocks that fall as you play, which increase in frequency the further you go
- Added ability to move left and right (to avoid said rocks)
- Lowered player speed increment as you progress
- Added fancier sprite-based title screen
v1.2 changes:
- High score is now saved to base ram, and loaded on cart init
- Mute music by pressing O+X together
v1.1 changes:
- Fixed bug that displayed old high score and new high score simultaneously
- Adjusted some colours and text
 1 comment

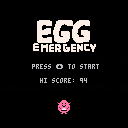
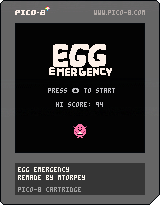
I don't know if anyone remembers Egg Emergency, a mini-game from Pokemon Stadium on the Nintendo 64. It was one of my favourites, and as my first Pico-8 project I thought I'd remake it in 2D.
It lacks a lot of features, but I had fun making it!
4 comments

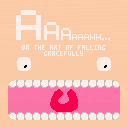
Hi everyone, for my first effort in pico 8 I made a small arcadey platformer. Try to keep your cool and survive as long as possible while lava chases you down an endless tower.
Controls:
left/ right - run
Z/C/N - jump
X/V/M while running - slide
Enjoy and let me know what you think!
4 comments


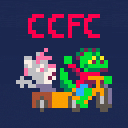
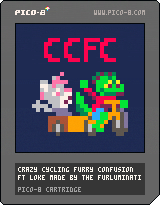
There's a great party going in Malmö but the guests can't seem to get anything done themselves! Use your trusty cargo bike and get your friends to Systembolaget, receive spiritual healing from Spökguden, or just take out the trash.
Done as an Xmas present to my good friend Loke, who DID keep the party going! My aim was to create something like Crazy Taxi with Frogger controls.
Music by @gruber_music
Don't worry about the in-jokes
1 comment
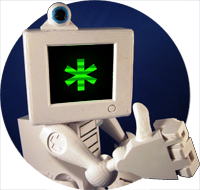

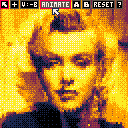
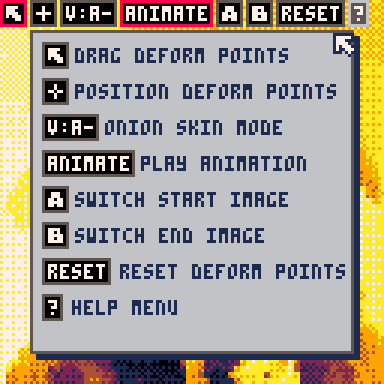
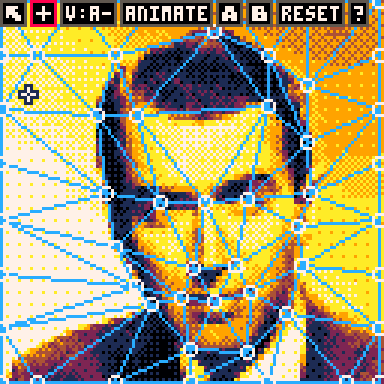
Pico Image Morph 2000
Use your personal Pico-8 computer to create professional-quality image morphing effects as seen in blockbusters such as "Willow" and "Terminator 2". Use the power of Pico Image Moprh 2000 to seamlessly transform one person into another or even change a cat into a dog!
Pico Image Morph 2000 can even be used to create wacky deformations! The possibilities are endless!
Instructions:
Pico Image Morph 2000 requires the use of the Pico Mouse Accessory.
While in "Position Mode", locate deform points along critical portions of the image, such as centers of eyes or the edges of lips.
Switch to "Deform Mode" to drag deform points to new locations.
Use the "Onion Skin" button to switch between viewing the Start Image, Target Image, or a blended overlay of both.
Click the "Animate" button to loop the animation
The system include 5 different image to morph between.
4 comments
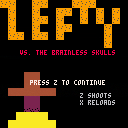
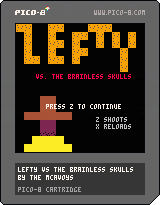
Lefty vs. the Brainless Skulls!
My son (11) and my (42) first Pico-8 release, emphasized learning the system over real playability. A ton of fun to make. Source code is available via Lefty vs. Brainless Skulls Github repository. We also listed it on the cmcavoy itch.co.
Gameplay is very basic, run around, shoot the skulls. The skulls jet around in random directions. We added a health counter and limited bullets to make it at least a bit more interesting. A couple of things that we learned that were particularly revelatory - collision detection, game state (having a startup screen) and animation pacing (though Lefty himself needs a bit of work). Map drawing took a while to wrap our heads around. The (simple) math around screen pixels to map tiles had us stumped for a while.
2 comments


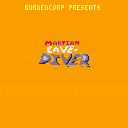
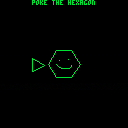
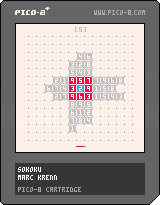
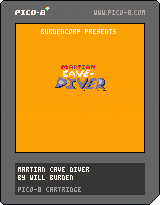
My expansion on Dylan Bennett's Cavediver game from their Gamedev With Pico zine (https://mboffin.itch.io/gamedev-with-pico-8-issue1).
Controls:
- Button 5 : jump / start (x by default)
- Button 4 : start Crazy Mode (z by default)
 1 comment


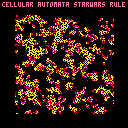
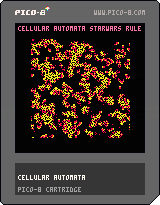
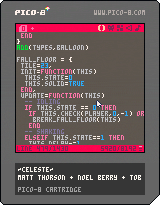
::★::cls()
for y=0,42 do for x=0,31 do
sx = 1+x4 + (y%2)2
sy = 1+y*3
d=.25t()sqrt(sx^2+sy^2)
q=cos(d/20-t()/4)2
circfill(sx,sy,1,5+q1.5)
end
end
flip() goto ★
0 comments

this is an unfinished mod
don't try to beat it until it's finished
actually, don't try to beat it after that either.
 1 comment

Hi there! I've fallen in love with Pico8 over the past few weeks. This is my first post here on the forums, and I thought I would share my Pico Pi project with you all :)
I am in the planning phase of this project, the purpose of which is to create a dedicated Pico8 machine in the style of the Commodore 64, using only keys that the Pico8 software utilises.
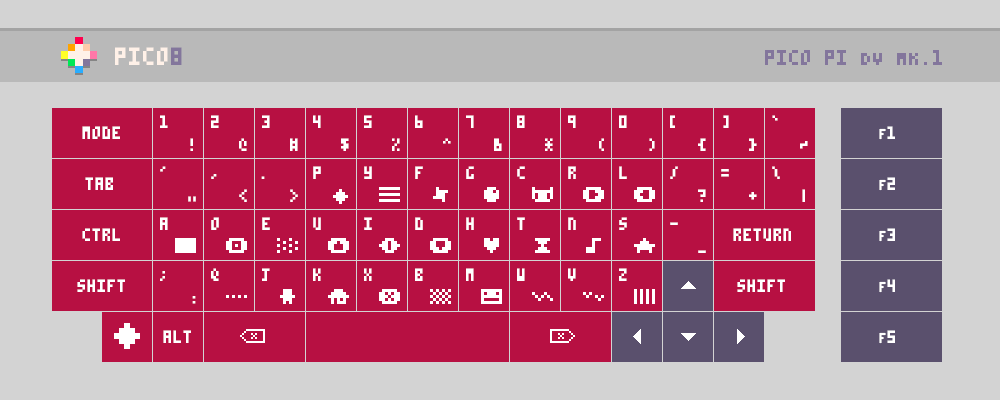
Planned Features:
- Ortholinear DVORAK key layout (can make key template file for QWERTY version available)
- Primary and Shift characters printed on each key
- Side-loading floppy disk drive and SD card reader for loading physical game carts
- Two front usb ports for controllers
- Rear ports: HDMI, Ethernet, USB, Power, (and RCA, for old TVs, if I can manage it)
- PICO8 logo key is actually the PAUSE key
I'm planning to hand-wire the key switches to an Arduino Pro-Micro inside the case, which will connect internally to the Raspberry Pi via USB. I also want to create custom controllers that can plug into the front of the unit via USB.
2 comments


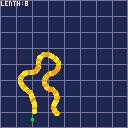
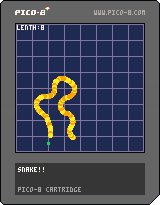
Snake, the game that you have probably heard of has had an upgrade.
This new version has:
Rotation
Curves
More than 4 directions!
Music
And probably more!
Use arrow keys to control the snake and remember,
DON'T DIE!
.
.
.
PS: I'm not the first person to do this.
1 comment
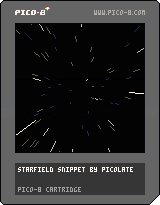
I began editing my Starfield cart to remove the parts that aren't necessary and fix a couple things. So here's a few cartridges that you can modify and drop into your own programs, as well as a tweet length (exactly 280 characters!) starfield cart.
Edit: moved this to code snippets where it belongs.
Starfield Snippet: this cart is medium size, including more rendering code so you can do things like modify the position of the camera and including the function that allows the user to change the speed of the stars. Also fixes a color bug in the original and adds a new dark blue transition color as suggested by @Liquidream.
 0 comments
.
.
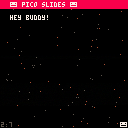
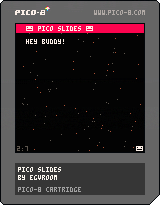
Hey all,
Recently I was delivering a presentation about Pico-8 to a class and it occurred to me.. "Why not use Pico-8 to create your slides? Deliver everything from within Pico-8".
So that's where Pico Slides came from.
Here's a 1.0 version you can use for your own use. The code is commented and if you run the cart you'll see placeholder slides which show you what Pico Slides can do.
Feel free to edit/add awesome stuff. It's pretty easy to watch the slideCounter and hardcode some other items, even games, to happen between slides.
Have fun.
Shane.
Note! The particles code is from some else's particle cart. I can't, for the life of me right now, find the original cart to give credit so please, if you know, just let me know and I'll credit where credit is due !:)
3 comments

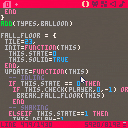
Hey, I'm trying to figure out why btnp(x) seems to be true for one frame after stat(31)=="x" is true in devkit mode, or if I'm doing something dumb.
Here's an example cart. Press X, and it will show display the number of the frame that it registered the devkit keypress and the X button press respectively. There seems to be one frame difference.

My actual usecase is this: I have a password input in a game where I want to record numerical input from the devkit keyboard, but I also want it to record the X button, which confirms the password. Unfortunately, the 8 key is mapped to the X button; when they're also recorded on different frames it becomes a little convoluted to separate the two.
7 comments


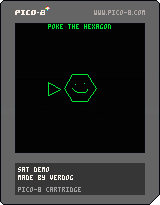
I tiny little demonstration of the SAT theorem being used for collision detection. Probably isn't perfect, probably is slow, and probably has bugs... but it appears to work at first glance, at least :)
2 comments

Hi all,
I've been working on tac08 for the last few months and while it is still is in development, its probably at a stage that other people may find useful. Check it out on github here:
https://github.com/0xcafed00d/tac08
What is tac08?
tac08 is an emulation of the runtime part of the Pico-8 fantasy console written in C++. It takes a .p8 (text format) Pico-8 cart file and runs it closely as possible to the real Pico-8 software.
What isn't tac08?
tac08 is not a replacement for Pico-8, it provides none of the content creation components of Pico-8, such as code editing, sprite and map creation and music tools. You will still require a copy of Pico-8 to make games. Also if you just want to run Pico-8 games you will have a much better experience with Pico-8 than tac08
Why was tac08 written?
tac08's target audience are developers that want to do one or more of the following:
- To enable Pico-8 games to be run on platforms that Pico-8 itself does not run on.
4 comments

