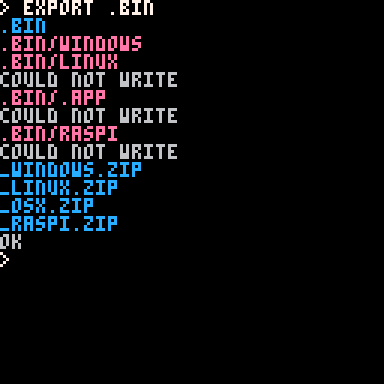
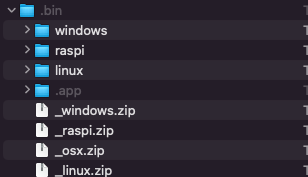
Exporting worked earlier but now when I attempt it I get this response.
Not Writing Properly
Not passed limit
Uncomplete installs


 3 comments

Hello Lexaloffle community, I have spent a couple of days learning Picotron. Figuring out how to modify files etc. I was wondering if anyone would be interested in me writing a full tutorial/documentation on how to use it, containing a full list of terminal commands (not only the ones specified by using the help cmd) and a full list of commands for the programming language. Containing information about each command. If anyone is interested in this please tell me.
Best Wishes, @grandel234
Picotron Playground:
https://www.lexaloffle.com/picotron.php?page=playground
All Official Documentation:
Gfx Pipeline: https://www.lexaloffle.com/dl/docs/picotron_gfx_pipeline.html
Picotron Pod: https://www.lexaloffle.com/dl/docs/picotron_pod.html
Picotron Usr Data: https://www.lexaloffle.com/dl/docs/picotron_userdata.html
11 comments






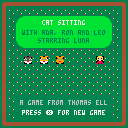
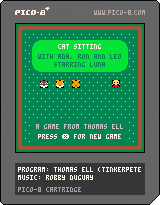
Here is my first attempt to program a game with Pico-8. The goal is to drive 3 cats to the 4 marked fields in the left center. They will only go to these fields if Luna, the shepherdess and heroine, is at this moment at most 2 fields away. There are 3 levels in total. And if you complete all 3 levels in a short enough time, you get to enter a high score list. Attention: In the last level you can be run over by 2 vehicles!
.png)
.png) 0 comments
0 comments

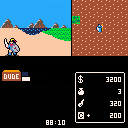
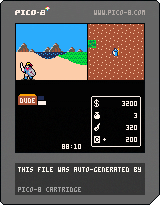
Miracle Warriors Remake
Looking like I will likely hit the compression limit so will need to redesign or multicart maybe
Currently:
- bump into walls to gain XP and gain levels - to test systems
- slow moving through forest or mountains remove HP - to test systems
pressing X on some villages/castles will give the following - to test systems
- get ship1 and ship2 at the original game locations
- first cave (cave6) will give random item
- Kosama Village will give random equipment
- Castles will give random pouch items - guilders,fangs,herbs,reputation etc
-
Resurrection village will give new party member if you have enough XP
- all maps should work although not very interactive
- healing system with herbs should work
-
save system should work
- initial monster spawn system if press X in open .. you can only run away -- but their might be bugs .. sorry.
 0 comments




CONTROLS-
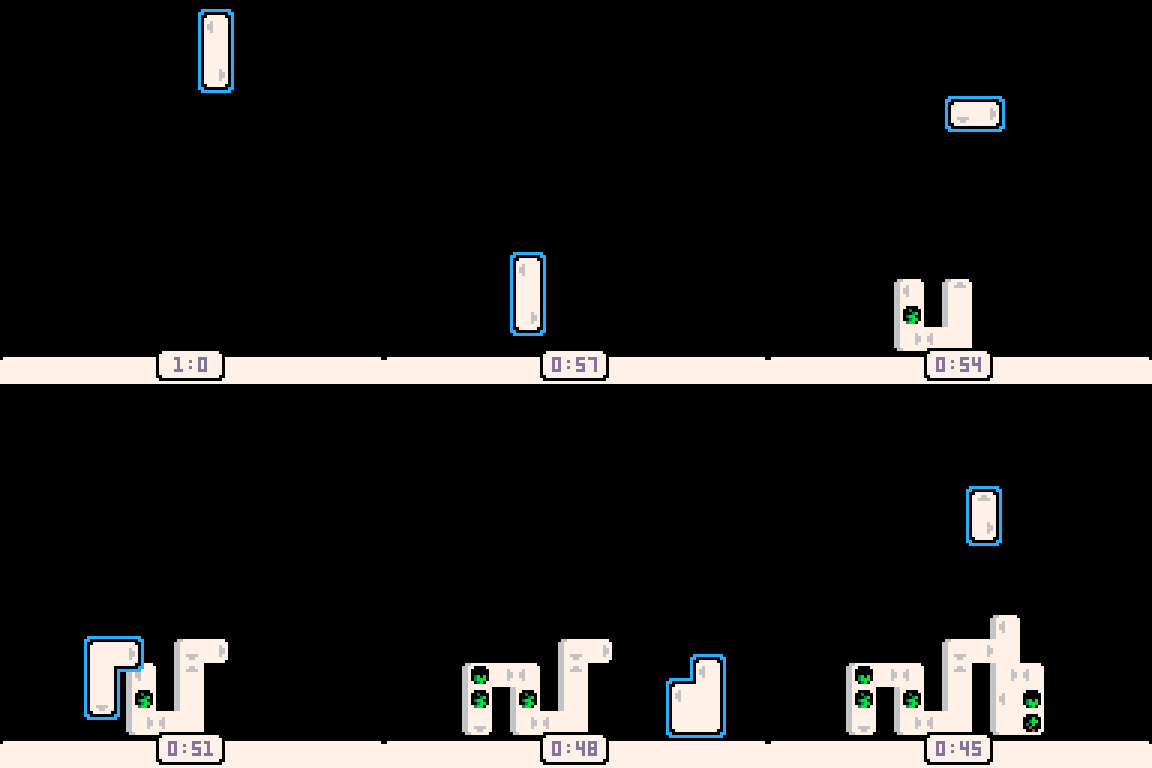
⬅️⬆️➡️⬇️ to move blocks
🅾️/ Z to place blocks & confirm
❎/X to rotate blocks
▶ to start the game
HOW TO PLAY-
Move the blocks around, and connect the arrows to get a better score.
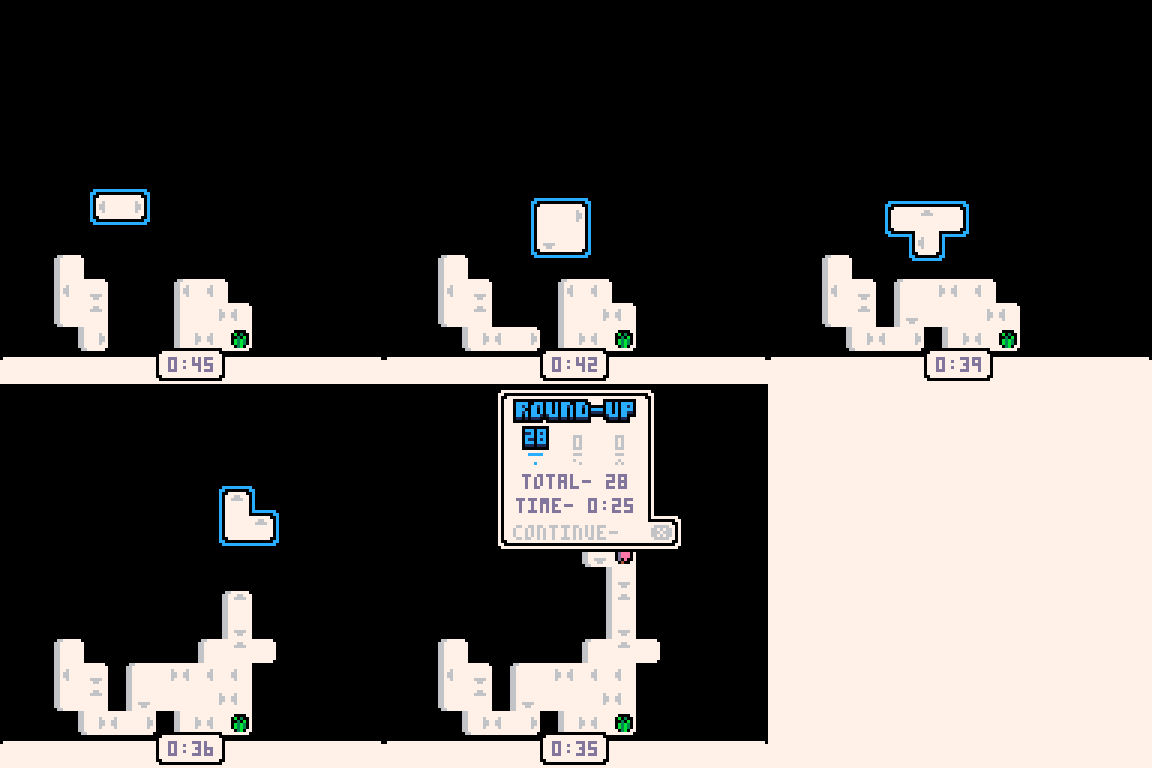
HOW IT WAS MADE-
Made within 18 days for the CRE-8 jam. I will link a dev blog detailing the development when it comes out.
This will sound silly; It was a really tough development emotionally, but it's finished! Thanks a ton for playing!
SOCIALS-
2 comments



Cell Machine
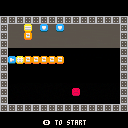
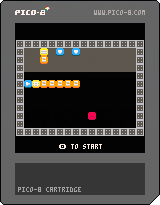
A PICO-8 port of Sam Hogan's hit puzzle game Cell Machine!
Drag cells around with your mouse. Other controls are explained in-game.
4 comments
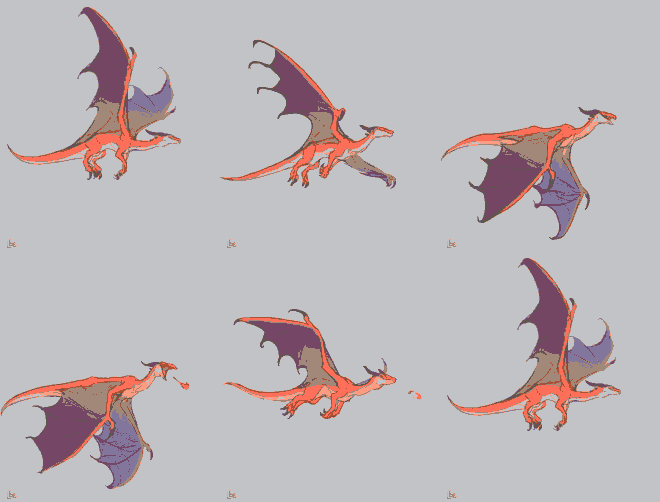


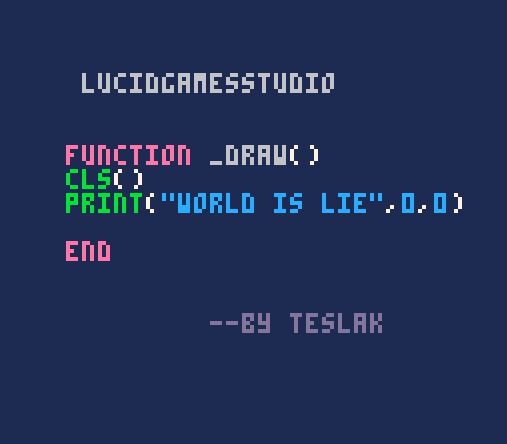
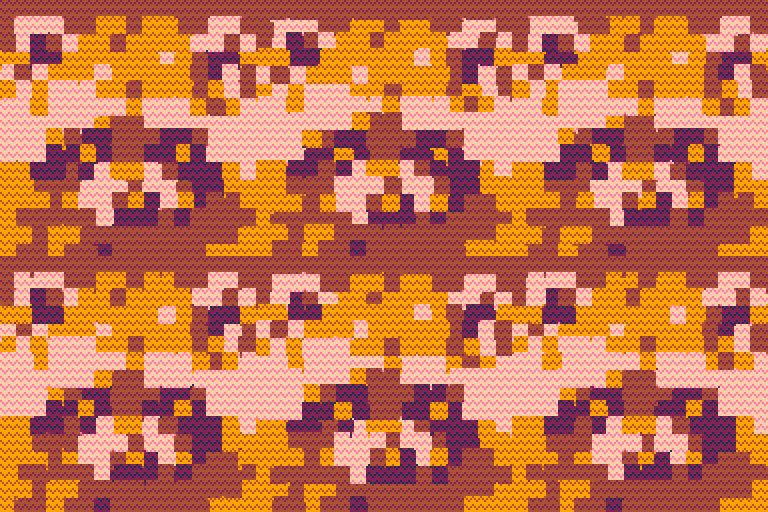


Bitplanes are powerful, but they can be difficult to understand. How do you use them in PICO-8?
The short version: bitplanes let you draw colors to the screen without completely overwriting the existing colors, making it possible to do effects like shadows, transparency, etc. But be warned: they come with a lot of unintuitive restrictions, like monopolizing half your screen palette or requiring it to be set up in a particular way.
Longer version: PICO-8 colors are 4-bit numbers (0-15). The screen is a 128x128 4-bit image, but you could instead imagine it as 4 separate 128x128 1-bit images, overlaid on top of each other. By poking a particular location in memory, we can tell PICO-8 to draw to these "bit planes" separately. Normally, drawing overwrites any existing colors, but if we selectively disable some of the bitplanes, some bits of the old colors will remain onscreen.
Technical version: see "Technical details" below.
This post lists some specific examples and tricks that you can do with bitplanes. I won't attempt to fully explain how bitplanes work, but I'll leave some resources at the end.
4 comments



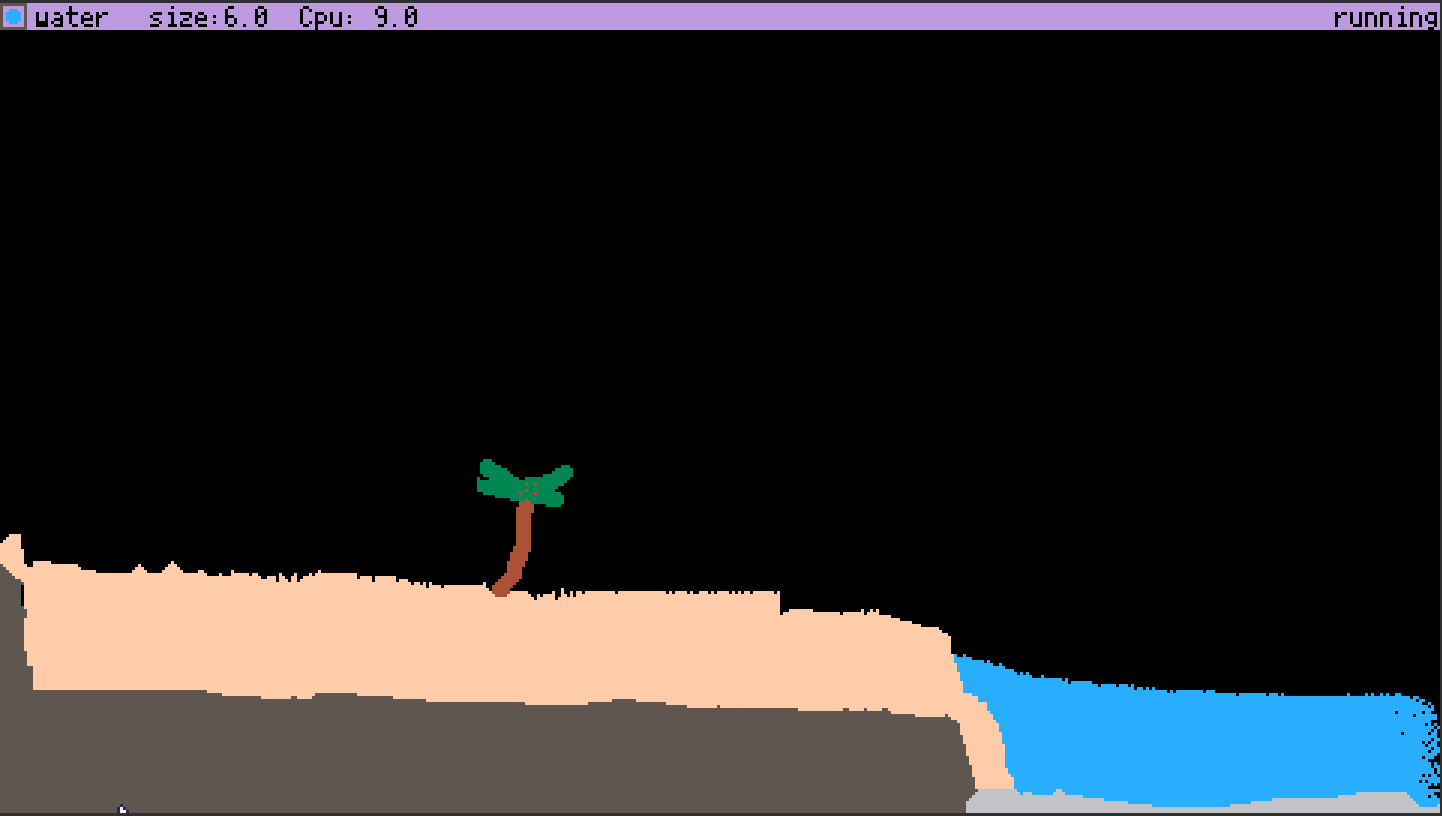
The Pixel Toy (TpxT)
2nd picotron game ever made!?
To play, copy and paste code below (click "show") into picotron playground (or actual picotron when it comes out!)
If it says "clipboard can not be read", then don't use base Firefox. if you aren't using base Firefox, then give picotron clipboard permissions in site settings.
vvv Code vvv
[hidden]
--	ThePixelToy
--	by antibrain

--[[

todo:
maybe some sort of GOL type
sounds/graphics/prebuilt maps when ptron 0.1 comes out
scene loader from clipboard to make something like TPT's save browser
more pixel types
more reactions
make neut/prot act like they do in TPT instead of acting like GAS/FIRE
saving/loading saves to hard disc. maybe using printh as file? cartdata?
chemestry?
air pressure
heat
simulate each pixel individualy so we can track its heat, speed, mass, weight, etc.
virus because virus in TPT is very satisfying
make fill/line tool not terrible
deco layers
ability to change sim speed
full keyboard support?

]]--
j=0
dc=5
size=0
sim=1

function _update() --update loop
	mx,my,mb=get_mouse() --get mouse data
	simulatepixels() --simulate pixels
   controls() --allow game to be controlled
end

function _draw() --draw loop
 mousedraw() --draw with mouse
 ui() --draw ui
end

function simulatepixels()
if sim==1 then
for i=1,4000 do	--4000 times per frame (30fps?)

		local x=rnd(480) --get random x and
		local y=rnd(270) --y values and
		local c=pget(x,y) --get the color of that pixel.
		if c==8 then --is red

			if pget(x,y+1)!=5 and pget(x,y+1)!=7 then --check all bordering pixels and if any of them arent a wall
				pset(x,y+1,c) --then set it to red
			end
			if pget(x,y-1)!=5 and pget(x,y-1)!=7 then --repeat for all other bordering pixels
				pset(x,y-1,c)
			end
			if pget(x+1,y)!=5 and pget(x+1,y)!=7 then
				pset(x+1,y,c)
			end
			if pget(x-1,y)!=5 and pget(x-1,y)!=7 then
				pset(x-1,y,c)
			end
		end

		if c==15 then --sand
		 if pget(x,y+1)==0 then --sand

			pset(x,y+1,c) --f a l l
			pset(x,y,0)
		 end
		 if pget(x,y+1)==12 then
		 	pset(x,y+1,c)
		 	pset(x,y,12)
		 end
		 if pget(x,y+1)==1 then
		 	pset(x,y+1,c)
		 	pset(x,y,1)
		 end
		end

		if c==2 or c==10 or c==11 then --gas (fire?)/neut/prot (i couldnt get neut/prot to act normal so i gave up :p )
				local j=flr(rnd(4)) --pick random number
				local q=flr(rnd(2))
				if q==1 and c==2 then --decay randoly
					pset(x,y,0)
				end
				if q!=4 and j==0 and pget(x+1,y)==0 then --go in random direction
					pset(x,y,0)
					pset(x+1,y,c)
				end
				if q!=4 and j==1 and pget(x-1,y)==0 then
					pset(x,y,0)
					pset(x-1,y,c)
				end
				if q!=4 and j==2 and pget(x,y+1)==0 then
					pset(x,y,0)
					pset(x,y+1,c)
				end
				if q!=4 and j==3 and pget(x,y-1)==0 then
					pset(x,y,0)
					pset(x,y-1,c)
				end
				if c==11 then
					if pget(x+1,y)==1 and pget(x+1,y)==0 then
					 pset(x+1,y,11)
					end
					if pget(x-1,y)==1 and pget(x-1,y)==0 then
					 pset(x-1,y,11)
					end
					if pget(x,y+1)==1 and pget(x,y+1)==0 then
					 pset(x,y+1,11)
					end
					if pget(x,y-1)==1 and pget(x,y-1)==0 then
					 pset(x,y-1,11)
					end

				end
				if c==2 and pget(x,y+1)==12 or pget(x,y-1)==12 or pget(x-1,y)==12 or pget(x+1,y)==12 then
					pset(x,y,0)
				end
		end
		if c==12 or c==1 or c==9 then --warder/deut/lava physics

			if pget(x,y+1)==0 then --let it fall down
				pset(x,y,0)
				pset(x,y+1,c)
			elseif pget(x-1,y)==0 then --if there's an open space and it isnt in free-fall,
				pset(x-1,y,c) --allow it to drip left and
				pset(x,y,0)
			elseif pget(x+1,y)==0 then
				pset(x+1,y,c) --right as well
				pset(x,y,0)
			end
			if c==1 and pget(x,y+1)==11 or pget(x,y-1)==11 or pget(x-1,y)==11 or pget(x+1,y)==11 then
				pset(x,y,11)
			end
		end
		if c==16 then --remove fill border
			pset(x,y,0)
		end
		if c==3 or c==4 then --wood/plant/foliage
		 if pget(x,y+1)==2 or pget(x,y+1)==9 then
		  pset(x,y,2)
		 end
		 if pget(x,y-1)==2 or pget(x,y-1)==9 then
		  pset(x,y,2)
		 end
		 if pget(x+1,y)==2 or pget(x+1,y)==9 then
		  pset(x,y,2)
		 end
		 if pget(x-1,y)==2 or pget(x-1,y)==9 then
		  pset(x,y,2)
		 end
		 if c==3 then
		  if pget(x,y+1)==12 then
		   pset(x,y+1,3)
		  end
		  if pget(x,y-1)==12 then
		   pset(x,y-1,3)
		  end
		  if pget(x+1,y)==12 then
		   pset(x+1,y,3)
		  end
		  if pget(x-1,y)==12 then
		   pset(x-1,y,3)
	   	  end
	   	end
		end
		if c==14 then
		 if pget(x,y+1)==0 then
		  pset(x,y,0)
		  pset(x,y+1,14)
		 end
		 if pget(x,y+1)>0 and pget(x,y+1)!=5 and pget(x,y+1)!=14 and pget(x,y+1)!=29 then
		  circfill(x-4,y-4,16,2)
		 end
		end
		if c==6 then
			if pget(x,y+1)==10 or pget(x,y+1)==9 then
				pset(x,y,9)
			end
			if pget(x,y-1)==10 or pget(x,y-1)==9 then
				pset(x,y,9)
			end
			if pget(x+1,y)==10 or pget(x+1,y)==9 then
				pset(x,y,9)
			end
			if pget(x-1,y)==10 or pget(x-1,y)==9 then
				pset(x,y,9)
			end

		end
		if c==7 then
			if pget(x,y+1)==0 then
				pset(x,y,0)
				pset(x,y+1,7)
			end
			if pget(x,y+1)==12 then
				pset(x,y+1,7)
			end
			if pget(x,y-1)==12 then
				pset(x,y-1,7)
			end
			if pget(x+1,y)==12 then
				pset(x+1,y,7)
			end
			if pget(x-1,y)==12 then
				pset(x-1,y,7)
			end

			if pget(x,y+1)==2 or pget(x,y+1)==9 then
				pset(x,y,12)
			end
			if pget(x,y-1)==2 or pget(x,y-1)==9 then
				pset(x,y,12)
			end
			if pget(x+1,y)==2 or pget(x+1,y)==9 then
				pset(x,y,12)
			end
			if pget(x-1,y)==2 or pget(x-1,y)==9 then
				pset(x,y,12)
			end
		end
		if c==9 then
			local q
			if pget(x+1,y)==6 and q==0 then
				pset(x+1,y,c)
			end
			if pget(x-1,y)==6 and q==0 then
				pset(x-1,y,c)
			end
			if pget(x,y+1)==6 and q==0 then
				pset(x,y+1,c)
			end
			if pget(x,y-1)==6 and q==0 then
				pset(x,y-1,c)
			end

			if pget(x+1,y)==12 or pget(x-1,y)==12 or pget(x,y+1)==12 or pget(x,y-1)==12 then
				pset(x,y,6)
				q=1
			else
			 q=0
			end

		end
	end
end
end

function mousedraw()

if mb==1 and not(btn(5)) then --if left click then
  circfill(mx,my,size,dc) --draw red/wall at mouse pos
 elseif mb==2 then --if right click (or ctrl click)
  circfill(mx,my,size,0) --erase (draw black at mouse pos)
 end
if btn(5) then --check if x is pressed
	if mb==1 and j==0 then --only do this once per fill!
		ox=mx --set old mx to mc
		oy=my --same for old my
		j=1 --j
	end
	if mb==1 then-- if mousedown
	 omb=1 --set old mouse click to 1
	 rect(ox,oy,mx,my,16) --fill outline
	elseif omb==1 then --if its one then
	 rectfill(ox,oy,mx,my,dc) --fill
	 omb=0 --set old mouse button to 0 (because mouse was released)
	 ox=nil --nil ox and oy
	 oy=nil
	 j=0 --j
	end
else
	ox=nil --if x isnt pressed, nil x and y, then j
	oy=nil
	j=0
end

end

function ui() --ui bar
 rectfill(0,0,480,8,29) --bar
 circfill(4,4,2,dc) --current color
 rect(0,0,8,8,5) --outline on current color
 print("size:"..flr(size),50,1,0)--brush size
 print(scolor,12,1,0)
 print("Cpu: "..flr(stat(1)*10),100,1,0)
 if sim==1 then
 	print("running",445,1,0)
 else
   print("paused!",445,1,0)
 end
 if dc==0 then scolor="erase"end
 if dc==1 then scolor="deut"end
 if dc==2 then scolor="fire"end
 if dc==3 then scolor="plant"end
 if dc==4 then scolor="wood"end
 if dc==5 then scolor="wall"end
 if dc==6 then scolor="stone"end
 if dc==7 then scolor="snow"end
 if dc==8 then scolor="eater"end
 if dc==9 then scolor="lava"end
 if dc==10 then scolor="proton"end
 if dc==11 then scolor="neutron"end
 if dc==12 then scolor="water"end
 if dc==13 then scolor="paint"end
 if dc==14 then scolor="bomb"end
 if dc==15 then scolor="sand"end
end

function controls() --controls
		if btn(1) then dc+=0.1 end --change brush color
		if btn(0) then dc-=0.1 end
		if dc<0 then dc=0 end --dont let color be too much or little or else
		if dc>15 then dc=15 end --the screen dies :(
		if btn(2) then size+=0.1 end --change brush size
		if btn(3) then size-=0.1 end
	   if size<0 then size=0 end--dont let it go negative
		if btn(4)==true then sim=0 else sim=1 end --pause when z is held
		if btn(1)==false and btn(0)==false then dc=flr(dc) end
end |
2 comments
PICO-8 supports bitplane drawing; the wiki (search "bitplane") has a description of how they work:
> 0x5f5e / 24414
> Allows PICO-8 to mask out certain bits of the input source color of drawing operations, and to write to specific bitplanes in the screen (there's 4 of them since PICO-8 uses a 4BPP display). Bits 0..3 indicate which bitplanes should be set to the new color value, while bits 4..7 indicate which input color bits to keep.
> For example, poke(0x5f5e, 0b00110111) will cause drawing operations to write to bitplanes 0, 1, and 2 only, with 0 and 1 receiving the color value bits, 2 being cleared, and 3 being unaltered.
> This formula is applied for every pixel written:
> dst_color = (dst_color & ~write_mask) | (src_color & write_mask & read_mask)
This is precise and correct, but I find it a bit hard to understand. So I made this cart to give myself an interactive sandbox where I can play around with bitplanes, to see how they affect drawing.
1 comment


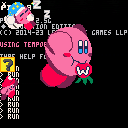
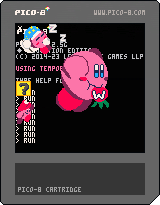

Title. When I set Finder to open .p8 files in pico, it opens, but pico just hangs on a black screen.
Example Video
4 comments


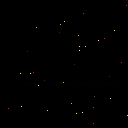
Recreation of the JavaOS screensaver as seen in
https://youtu.be/yxV_pR1ZsXM?si=T757wSvjK0JbQaI2&t=1011
code has been made as small as possible while remaining highly performant. (3% cpu usage)
0 comments

Description
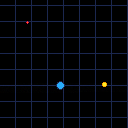
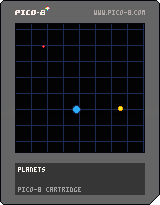
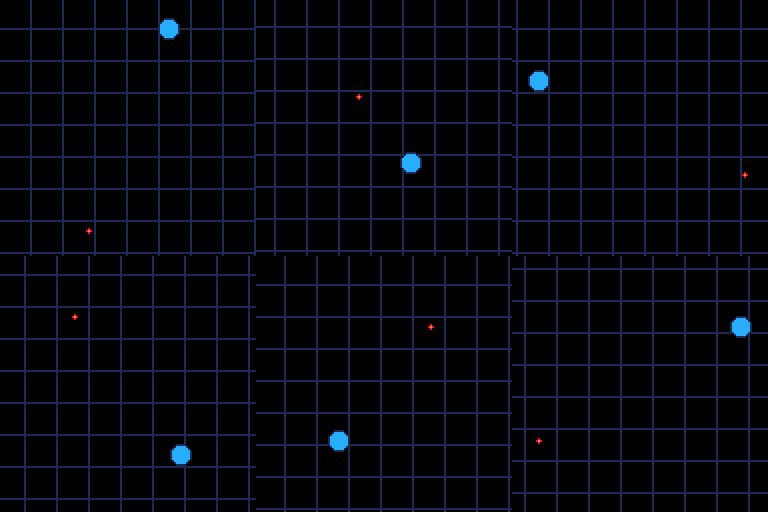
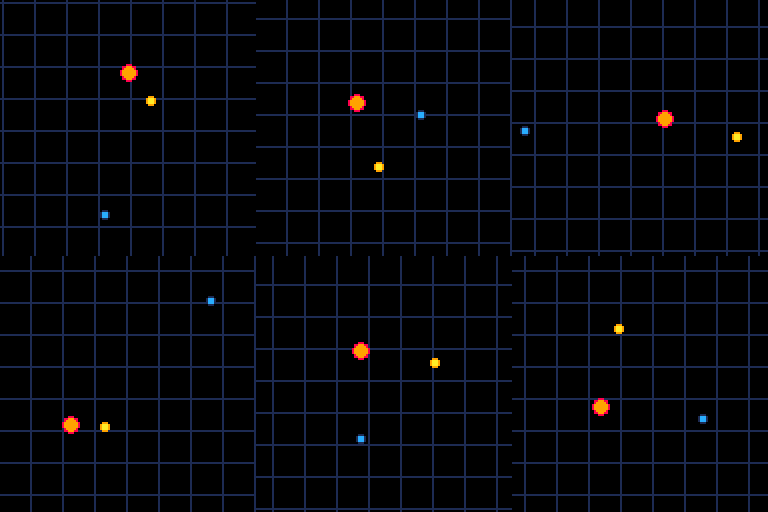
This cartridge simulates orbital mechanics using Newton's law of universal gravitation. It is recommended to experiment with the settings, which can be found in the code. The planets are generated randomly, so try reloading the cart to find interesting combinations.
Camera Controls
By default, the camera will follow the average of the planets' positions, giving you a view of all the planets. Use the Z key to lock on to a specific planet, and keep pressing Z to cycle through different planets. Pressing the X key will let you move the camera manually with the arrows or WASD, and pressing it again will go back to the automatic camera.
1 comment


Having a hard time figuring out how to get a pico eight running on my RG405M with gamma OS. Anyone done this yet?
7 comments