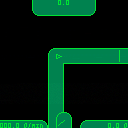
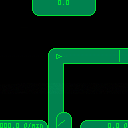
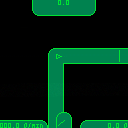
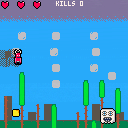
Hello again. I am working on a fan handheld for the Pico 8. Once this project is finished, I'll upload all the cad files onto Thingiverse and create a guide on how to create your own Pico 8 handheld. This is what the first prototype shell looks like.
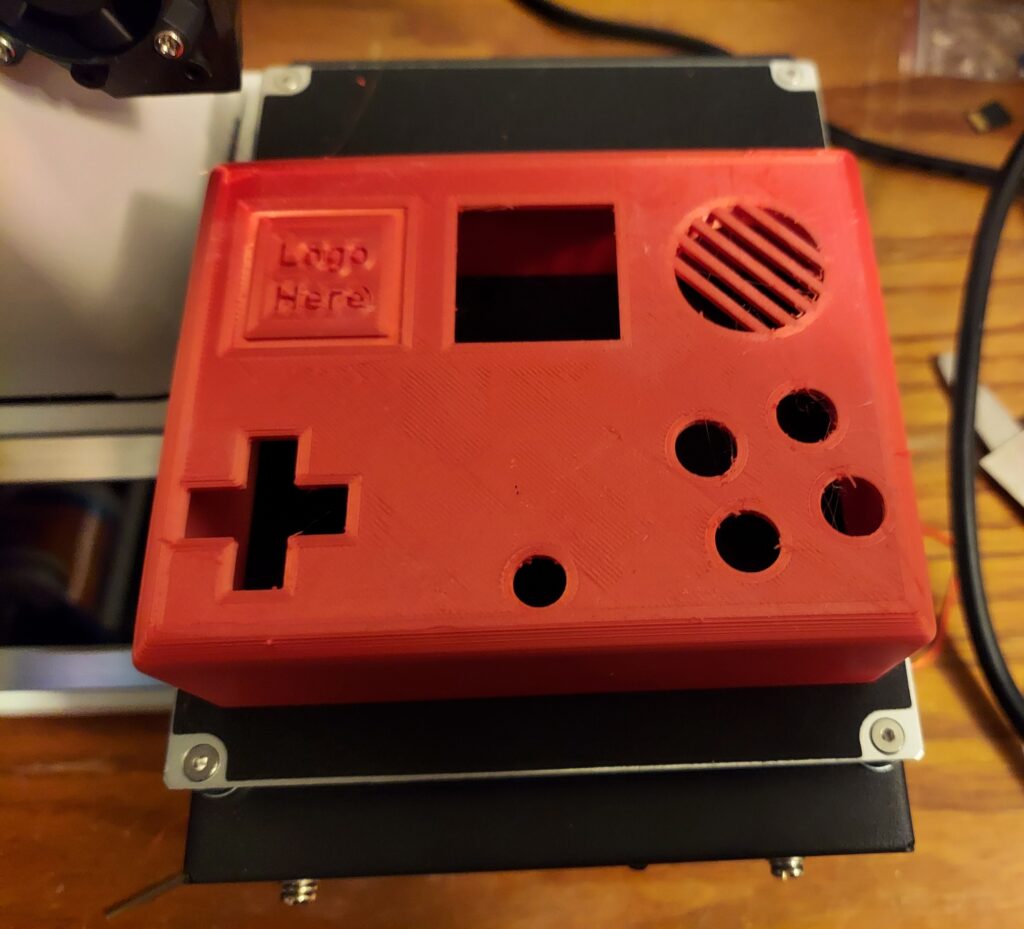
The button spacing feels perfect, but the shell is too wide. Fortunately, it seems like I can shrink it down roughly 5mm so it will be around the same thickness of a Dmg-01 Gameboy. The rounded edges makes it feel comfortable to hold. I might reposition the battery holder location so I might be able to shrink it down another 5mm. I'll take any suggestions for this project as I want this to as good as possible. My goals for this project:
- It must be comfortable to hold and not too bulky.
- It must have a 128x128 resolution screen.
- It must have sound.
- It must take AA batteries, but you are free to modify the project to use rechargeable batteries
What I have done so far:
- Made some designs in fusion360





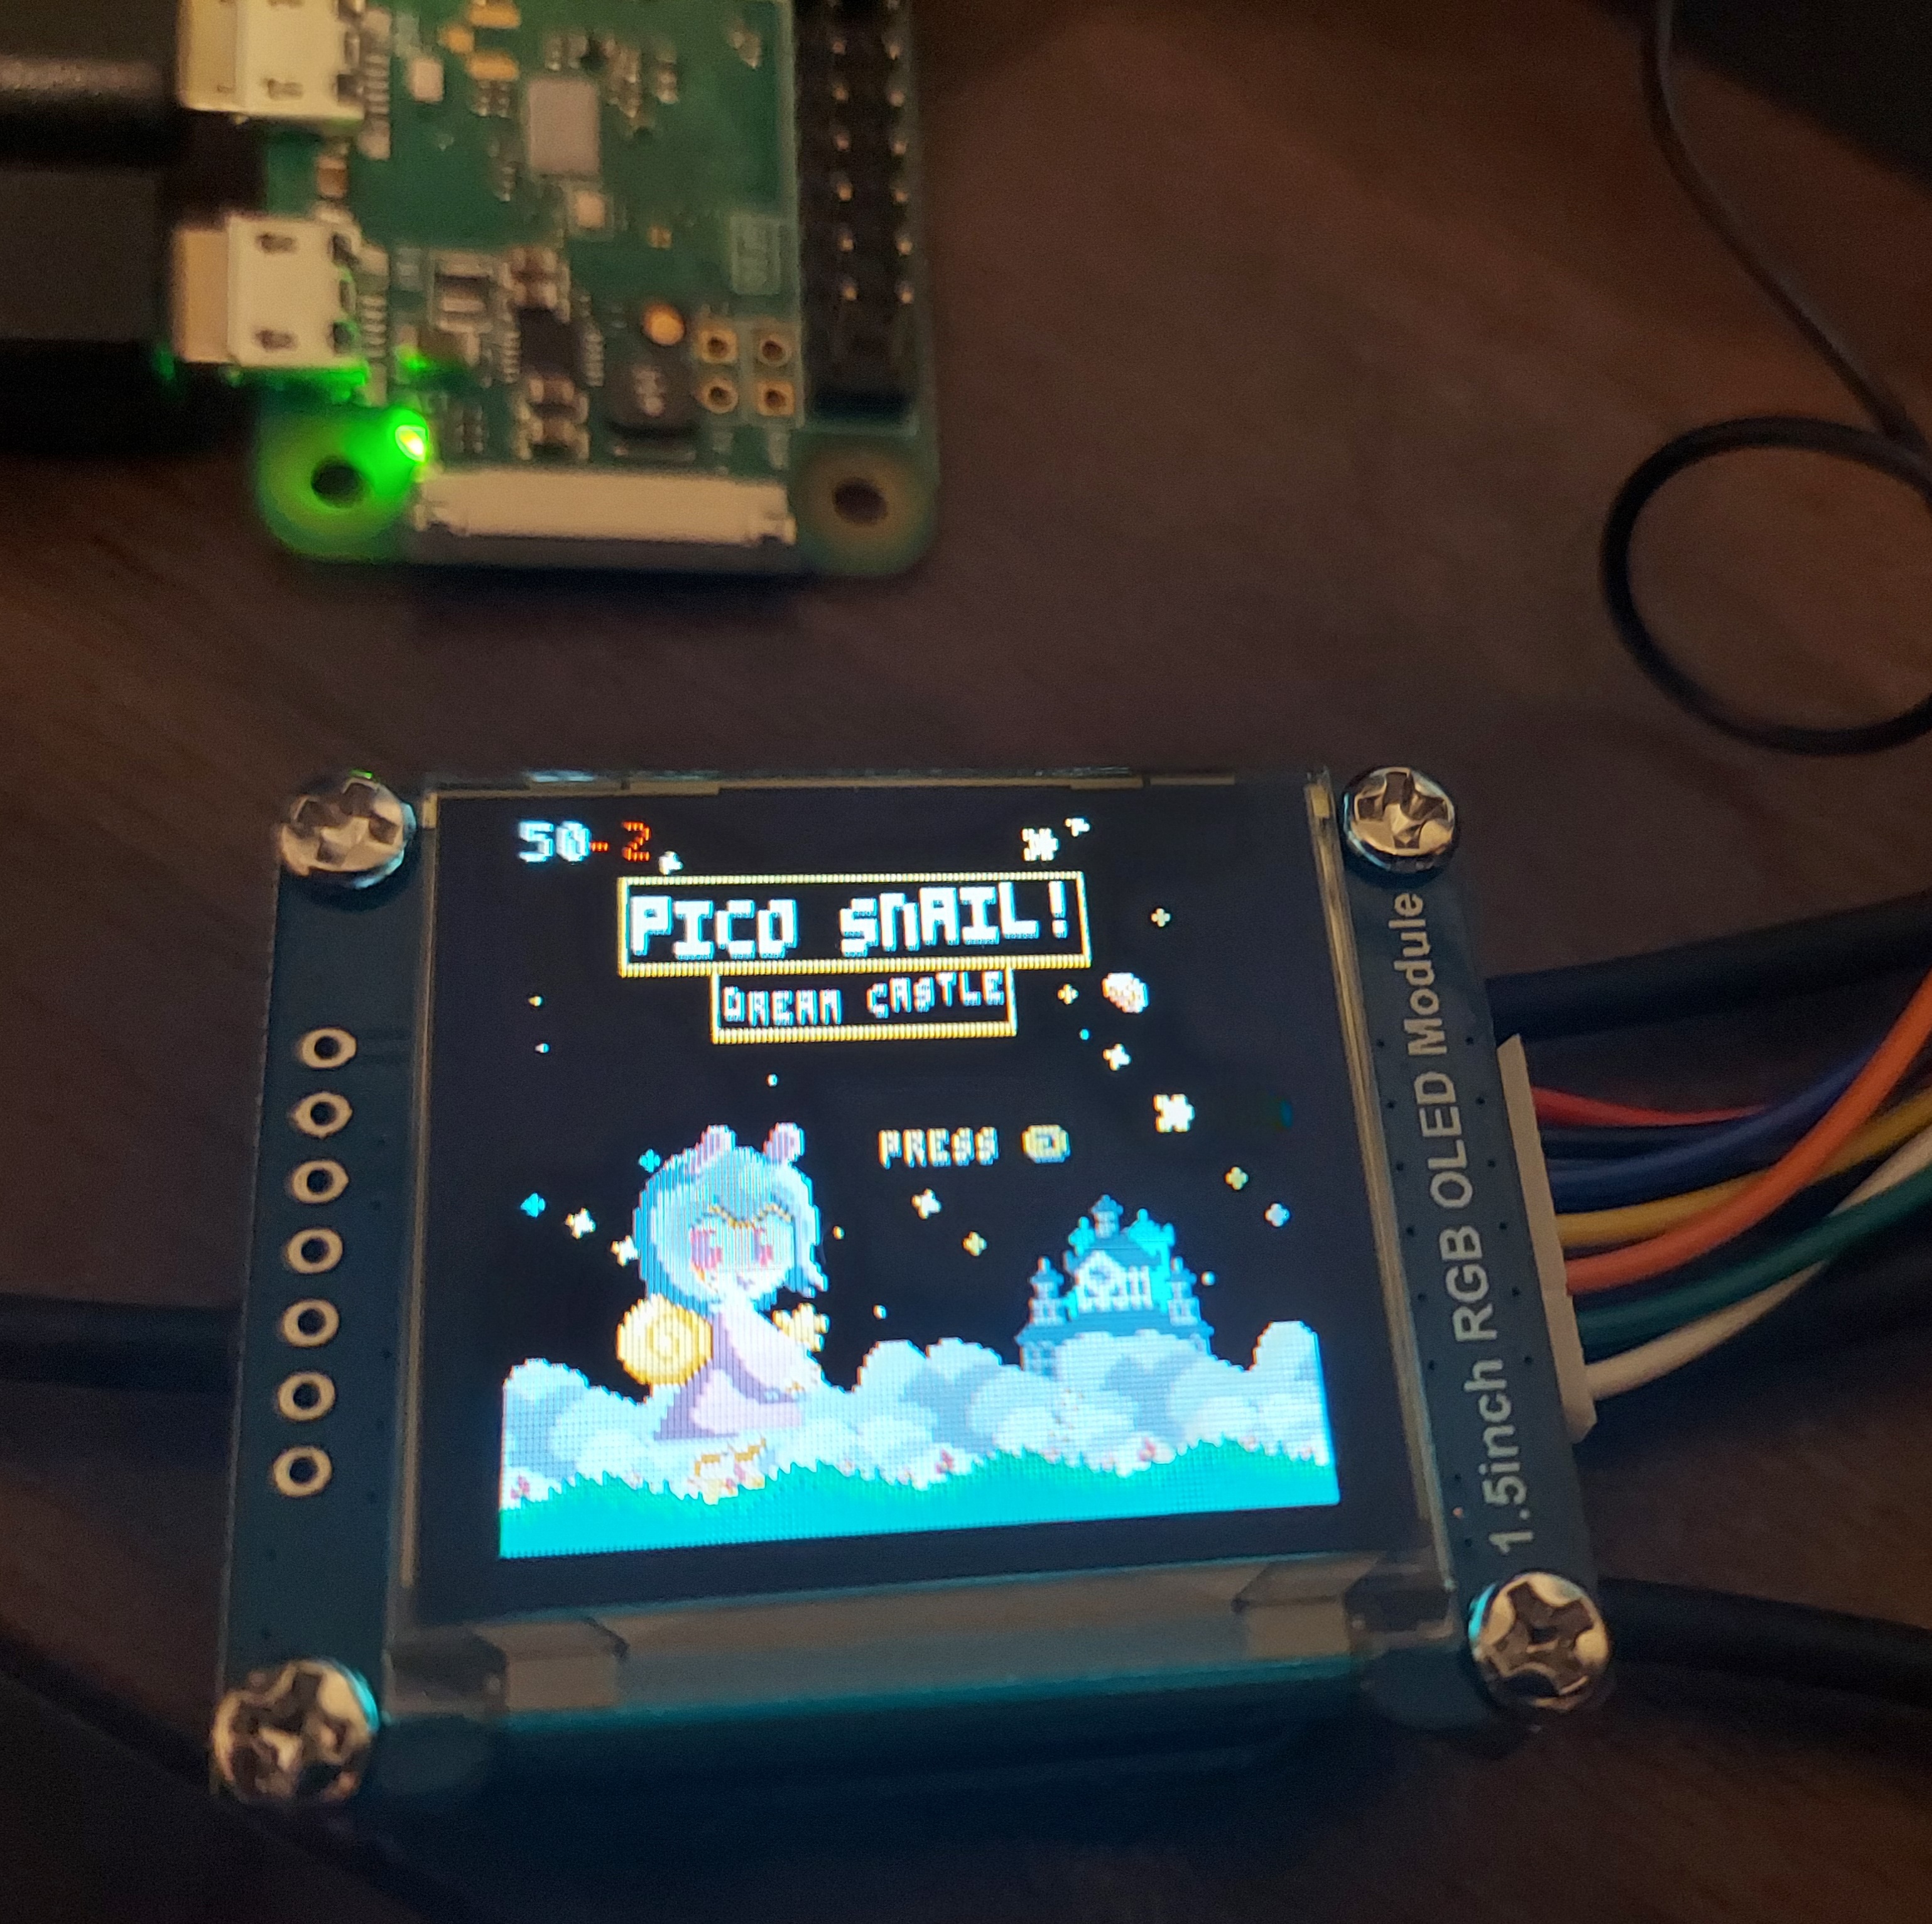
Hello there. My name is Grhmhome and I've been working on a fan handheld for Pico 8, using a Pi Zero W. I've been working on this project for roughly a week now. I'm proficient with Cad, 3D printing, and I've been learning soldering. I wanted to make a handheld for the Pico 8 with the correct aspect ratio screen and I finally found the perfect screen for my project. This post is a quick tutorial on how to get the Waveshare 128x128 RGB OLED display module to work properly. This took me all of yesterday to get to work properly as I had to troubleshoot and do more troubleshooting.
Where to find this screen?
Amazon: https://www.amazon.com/dp/B07D9NVJPZ/
Waveshare: https://www.waveshare.com/1.5inch-rgb-oled-module.htm
I used the latest version of RetroPie for this project.
Step 1. Wiring the screen. The pins I used are as follows. The connector that comes with the display should be color coded.
VCC (Power +): Any 3.3V GND (Power -): Any GND [ [size=16][color=#ffaabb] [ Continue Reading.. ] [/color][/size] ](/bbs/?pid=95776#p) |



.png)
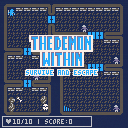
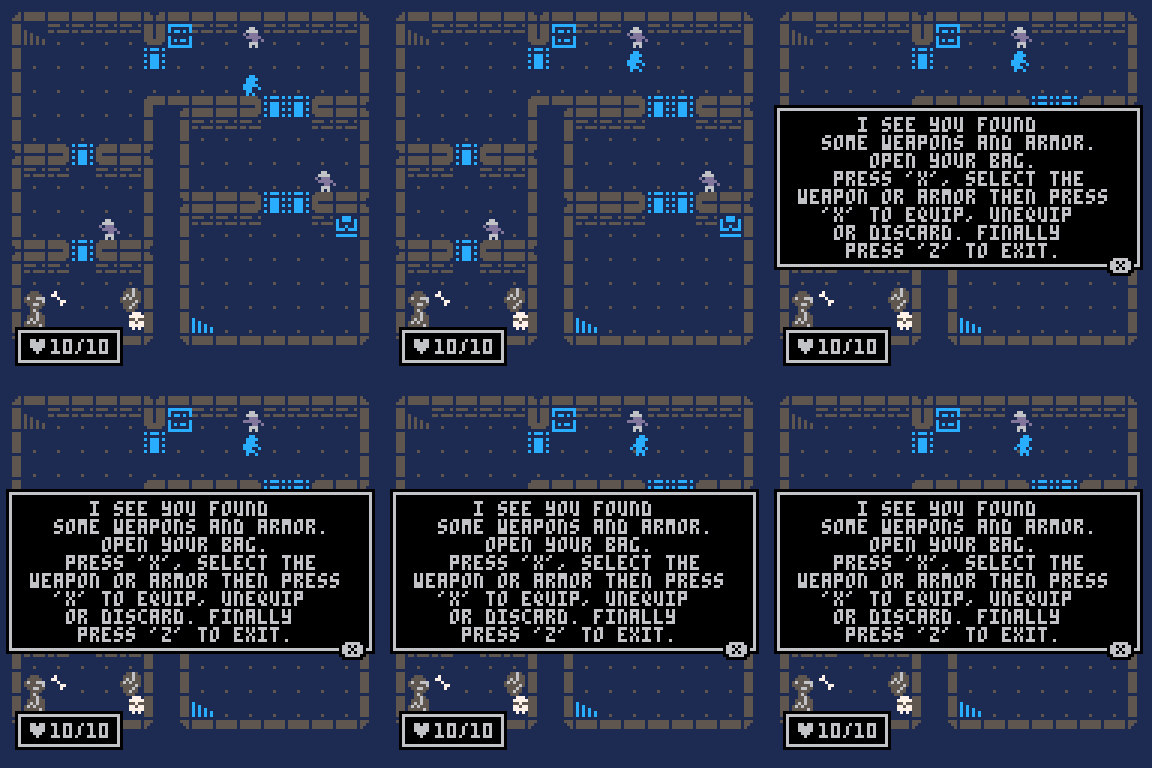
Welcome to the demon's lair, his dwelling. How did you get here? How will you escape? CAN you escape? Try your best, it's easier said then done...
Enjoy this classic-styled rogue-like!
Game Content
• 34 Different Items
• 7 Item Types
• A Grim, Dark Little Story
• Many Challenging Floors
• 10 Different Enemies
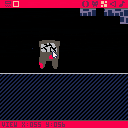
Hey all, I'm back at it again! I put every critical feature I could fit into this cart.
Currently using 8192/8192 tokens.
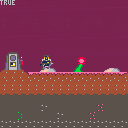
NPC’s
There are npc's in the game. Bump into them to talk with them!
Overall Score System




Dijkstra Map visualizer
While trying to follow a talk on map generation on youtube I created some demos. Here is one that is most functional and most pretty so far.
Controls:
- Arrows: move the cursor
- Z: Calculate a new map starting from the cursor
- X: Generate new cave
Explanation:
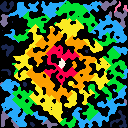
Dijkstra maps contain information about distance from each point on the graph to a set starting point. In this case the graph is a generated cave-like map and the point is picked at random, but can be changed with arrow keys + Z.
After the Dijkstra map is calculated the cave map is colored like this:
- Walls are black.
Today is the 20th birthday of the minimalist conlang "toki pona". An event is held to celebrate that. I made a small PICO-8 cartridge to celebrate it.
Controls: UP/DOWN -- move time one hour ahead or behind
LEFT/RIGHT -- control the wind
O+X (Z+X on keyboard by default) -- activate easter egg
Changelog:
Version 2 (current) -- fixed time calculation so the cartridge doesn't crash long before or after the event.
Version 1:
Desc
A demake of a song from The Little Prince on Netflix (couldn't find track, all was made from memory.)
Controls
Movement
Press ⬅️ ➡️ ⬆️ ⬇️ or any of the arrow keys to move around in the plane
Bark
Press 🅾, ❎ or Z, X to bark
Music
[sfx]
Just a basic loop of 16 notes, nothing special to talk about the music.
~ ~ INSTRUCTIONS ~ ~
Open the main menu (e.g. with Enter), toggle the COLORBLIND option, and then select CONTINUE to see the result.
~ ~ INFO ~ ~
Hi all!
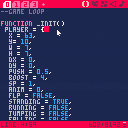
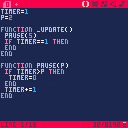
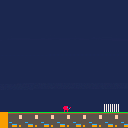
I've been messing around with PICO-8 after using it briefly a little while ago, and I've been having a lot of fun! But I was working on a game that involved a red ball on green grass, and I realized that this wouldn't be very accessible to a lot of players with colorblindness, even if the contrast was really nice for players without colorblindness. I decided, in my case, the best solution was to add a simple "colorblind mode", and that's where this code snippet comes from.
This is not perfect at all, but basically it manipulates the palette to give much better contrast in many situations for the three common types of colorblindness (red-blind, green-blind, and blue-blind), though most of all for red- and green-blindness, mainly focusing on shifting reds to orange and greens to blue (as suggested by the various accessibility manuals I looked at).



 4 comments


