


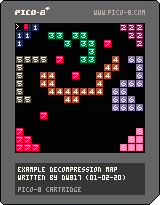
(01-02-20) If you just want to see it in action, try out the cart above and examine the source-code. For a more detailed demonstration including compression, try out the cart below this.
TO LOAD THIS CART in Pico-8, in immediate mode type:
load #sccm |
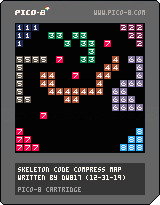
UPDATE (01-01-20) Removed all loose global variables.
 6 comments


SOLVED: See @samhocevar's solution. Thanks everyone who contributed answers !
It's a pretty simple question that may not have so simple an answer.
Is there a way I can declare locally global variables inside a function.
By this I mean I define variables inside a function that meet two states.
-
The variable is seen for the first time and is therefore initialized with a new value.
- The variable has been seen before and is NOT initialized but in re-entering this function it retains the same values it had before this same function was exited earlier.
I know I can simply declare global variables but what I wanted was to be able to retain values of simply named variables that might be just a single letter. Yet can only be seen and globally recognized by that local function.
Here is an example:
function _init()

word={"one","two","three"}

for i=1,#word do
  count(word[i])
end

end

function count(a)
localglobal n=0
  n+=1
  print(n.." "..a)
end
|
14 comments


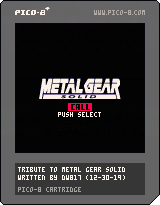
TO LOAD THIS CART in Pico-8, from immediate mode type:
load #mgst |
UPDATE (12-30-19): web address
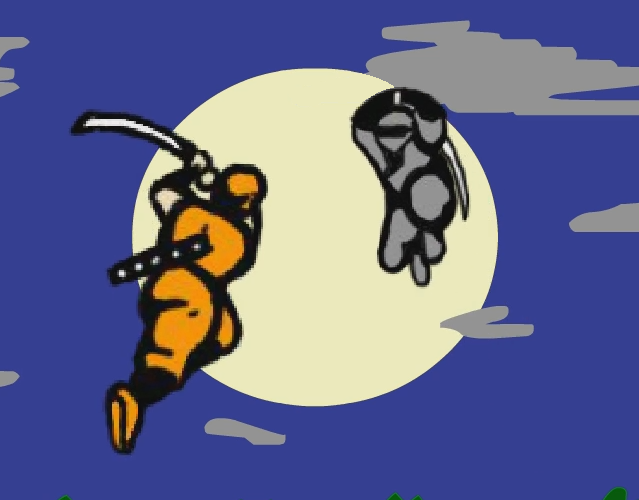
Metal Gear Solid was an incredible and groundbreaking 3-dimensional stealth game for the Sony Playstation released in the states back in 1998. Not only was it an incredible and challenging game the graphics for its time were nothing short of miraculous if you didn't count Final Fantasy 7.

This then is my tribute to the opening story, where Snake has infiltrated the lower levels, made it to the elevator, reaches the top and is at a secret base in Alaska where he is contacted by CODEC which stimulates the small bones in his ear of his mission and target.
5 comments


Years ago there were only a handful of personal computers out there. The Apple ][ computer is the one I especially remember fondly.
In this I have created the "Applecart." A series of programming events that take old Apple ][ games and refurbish them written in Pico-8. And it's not just by one person.
Every Sunday I have given my team a challenge to write a particular Apple ][ game as well as they can in Pico-8. The only stipulation is it must follow the flow of the original game and try to keep the original sound effects if at all possible. Although creativity is definitely encouraged.
For instance I had remembered one game that I played by reading it off of audiocassette that had a UFO that played a sound that got lower in pitch the lower to the screen it was and higher, the higher it was. It would randomly shoot out a laser and try to hit the player. So the challenge was to hit the UFO fast and hard before the timer gave out, and there were a few ways you could play.
7 comments

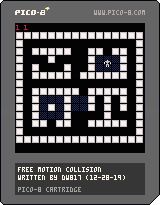
TO LOAD THIS CART in Pico-8, type:
load #fmc |
Pico-8 has the ability of setting any of 8-flags for a single tile or sprite from the spritesheet.
For instance, if you created a sprite which was the very first, number 0, and turned on flags 1 and 2, then if you used FGET(0) you would get back 3 as each flag counts as a power of 2, binary.
So this program is pretty powerful what it does.
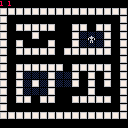
It will return ALL collisions of a sprite around objects and return their flags. For instance in this example you can easily cross over tiles that have no flags set or the first flag is set (the shazy tiles), but it will not let you cross any tiles that have the 2nd or higher flags set, a wall.
0 comments

TO LOAD THIS CART in Pico-8, type in immediate mode:
load #cs |
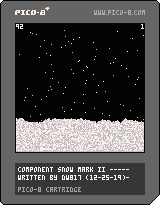
Methods of drawing snow have come a long way, haven't they ?
If there's one feature of Pico-8 I have learned about and enjoyed over the years are the two commands ADD and DEL.
With them you can add and delete elements inside an array without having to plug them up with other data or manually skip over them by setting a flag later.
This can especially be seen in my latest offering, "Component Snow."
And it does follow a set of rules.
- The snow falls vertically.
- If it is obstructed, that is there is snow directly beneath it, a comparison is made.
0 comments
Alright, in the last article we covered how to fade a picture to black, now let's focus on the reverse, fading a screen's palette from black to a picture, and not just any picture, but one that is already animating and carrying on in the background.
First off understand once again we are NOT going be creating a 240-size table, no, just the nice and small 32 we have.
But now let's think about it. If the whole screen is black, how do you fade to the correct colors ? I mean if you look at the original fade routine it changes a lighter color to a darker and that new darker color is processed in the next pass. So how do you go from darkest to original colors ?
I'll let you think about that for a minute.
Got an answer ? Well, yes and no. Unfortunately the way you described is very complex and tedious. There's a much easier way.
 2 comments


If you run the above cart, the moment you hit (O) you will see a pattern quickly appear before changing the palette. This apparently occurs when you make use of the extended color set.
A simple solution for now would be to make use of the extended set before your program actually starts up. Then while it still does it, you can curb it at the beginning.
This does not appear at all in the Pico-8 system though.
I am understanding now this is deliberate and intentional. Perhaps a type of way to punish programmers who want to make use of the extended palette. It currently only appears on the BBS but I suspect with the new Pico-8 release for purchasers, the "glitch" effect will be added there as well.
8 comments


TO LOAD THIS CART in Pico-8, type:
load #f2ba |
Forced "disruption" early.
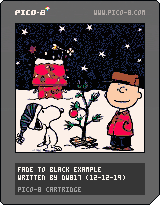
"Fade To Black." it's not just a video game it's a video game concept and one that's worth learning as it definitely looks good for any game cart where you want to not just jump screens but have one fade to black.
Now at first you might be thinking well HECK in order to do this properly I would need to create 16-different fadeout colors for each of the 15-colors yielding ... 240 colors I have to enter into a table !
Well, yes, you could do it that way, but an easier way is just to fade one color only one step.
And you're probably asking, how can you fade a whole picture just by fading one step ?
7 comments

IN ORDER to make use of this, you must load this cart in Pico-8.
load #esiyc |
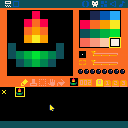
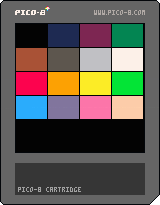
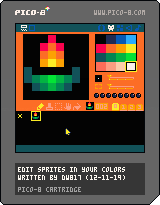
Now that you've become familiar with Pico-8's own Sprite Editor and are familiar with the unique way of changing the 16-colors to a different set, you may have already picked out a perfect 16-colors for your cart.
Yet in the sprite editor you have to manually remember what colors you've transposed with others which can be a bit of a headache.
I offer this simple solution. LOCK the colors in after the program exits.
So if you run this cart, (ctr-R), then press (O), then RIGHT after that press [ESC] to exit. You can then bring up your sprite editor and see your own custom palette in use, allowing you to easily color and paint the sprites using the custom color set you have created.
3 comments


(v01 12-08-22)
TO LOAD THIS PICO-8 CART, in immediate mode, type:
load #xmascard
VVhat's new ?
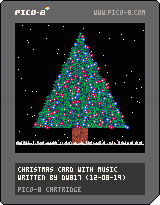
Gruber, one of the the resident Pico-8 musicians came through, was very kind to me, wrote to me on his page, and offered what I could use for my Christmas project here. How wonderful !
-- 12-08-22
-- + used extended memory to
assist in the opening of
the card.
-- 12-08-22
-- + improved speed of
-- scrolling text.
-- 12-08-19
-- + added changing wind
-- direction.
-- 12-09-19
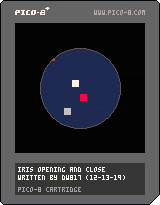
-- + added 3d card opening
-- graphic. tricky stuff.
The music that I wrote I am keeping (the post after this one). It's a curious method to be sure where all notes are the same length and some are repeated in different octaves to maintain the flow of the song.
3 comments

TO LOAD THIS CART in Pico-8, type:
load #sst |

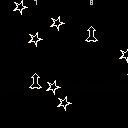
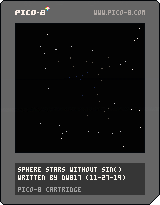
Use the ARROW KEYS to navigate and the (O) key to flip back and forth between 2D stars and 3D stars.
Sphere Stars as I call them has always been something to elude me. While I spent literal months on and off years ago back in QBasic trying to reproduce the "bowl" effect, I was never entirely successful.
Thanks to @freds72 he showed me it is indeed possible to reproduce. And maybe that was the push I needed to try one more time using a method I knew would benefit me later.
What method is that you ask ?
I have remapped every single pixel on the screen to a circular bowl. So when you plot on the screen instead of a rectangle you are actually drawing in a bowl and you get that nice curved effect when you navigate around the 2D star array.
0 comments
TO LOAD THIS GAME in immediate mode, type out:
load #p8r |
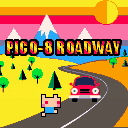
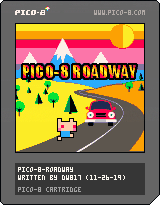
It seems a shame to leave ZEP's own marvelous JELPI sprites behind on just his opening demo cart, so I borrowed them for my latest game, Pico-8 Roadway !
Based upon the Atari 2600 game called FREEWAY:
https://youtu.be/3ICFiRZ-xSA?t=6
To move the 1st player forward, press (O) or equivalent.
To move the 2nd player forward (if desired), press the 2nd player (O) key, usually TAB.
Uses my collision function:
https://www.lexaloffle.com/bbs/?tid=36034
Game saves CARTDATA high-score.
Note: if you have any suggestions or ideas on making improvements in this game, please let me know and chances are - it will happen. :)
0 comments
TO LOAD THIS CART in immediate mode type:
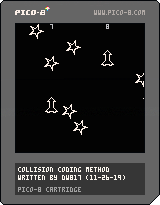
load #ccm |
I have need of this function for a different game I'm working on - so you get a chance to enjoy and make use of it for your own projects.
Today most games in Pico-8 use what is called a HIT BOX to determine if there is a collision between two objects. And while it works fairly well it is not entirely accurate.
For instance, you could have a comparison between two completely different sprites and the hit box area would either be too big where a collision occurs even if they are not touching, or the hit box could be too small where you must run right up against the target and even though you are touching it, it does not register.
17 comments


TO LOAD THIS CART in immediate mode type:
load #cs |
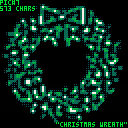
Use the arrow keys to navigate between the 8-images stored. Press (O) to turn on and off the status.
- Santa Claus
- Rudolph
- Christmas Tree
- Jingle Bells
- Snowman
- Candy Canes
- Christmas Wreath (turned out nicely !)
- Gingerbread Man
Thought I would start a fresh tab for this new code. And there's quite a bit new about it.
While before you could guarantee a compression of 682-chars per picture, now it is based upon the cluster of pixels. So more black or white space means greater compression.
Also it no longer uses the Spritesheet even for temporary storage, it's all self-contained now.
0 comments
You may yourself have experimented with the IMPORT ability for Pico-8 to import sprite sheets. However if you tried it inside your own code, it doesn't work, that is until your program ends.
So how can this be accomplished ?
Well first off understand the method I found only works for the IDE, that is, this will not work Online, offline Java or exported to an EXE/Mac. It only works in the IDE.
Here is the code:
-- the power of import -- written by dw817 (11-24-19) import "one.png" if sget(3,3)==0 then run"" end cls() ?[[ there are no sprites in this program. what you see was loaded from an external file. ]] for i=0,15 do spr(0,i*8,60) end repeat flip() until forever |
Save that as IMP.p8 if you like.
What's happening here ? It's pretty tricky actually. The first thing I do is import a .PNG file sized 8x8-pixels. Naturally it doesn't appear so the next line is TRUE, that is, the pixel at coordinates 3x3 on the sprite sheet is black. So then I RUN the program AGAIN.
0 comments
@zep:
I was trying out the one of the BBS carts in the Leapdroid for Windows. While running a cart does indeed go full-screen and put a nice control interface for touch-screen which does work BTW, the game screen itself flickers from sharp pixels to blurry pixels very nastily and seemingly randomly back and forth.
This does not occur with any other APKs I've installed.
Something else to consider.
0 comments
I can tell there are new changes in the Lexaloffle BBS by the appearance of this underneath carts now:
" Code ▽ | Embed ▽"
With the new images of the down facing triangles.
If you are editing your message (or any previous message you wrote) and preview and attempt to click play your cart from the message editor - it will not work.

You click on the right-facing Play Triangle in the center of your cart preview and it acts like you did not click at all.
This proven to exist now in Firefox, Opera, and Google Chrome browsers.
2 comments

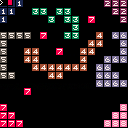
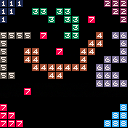
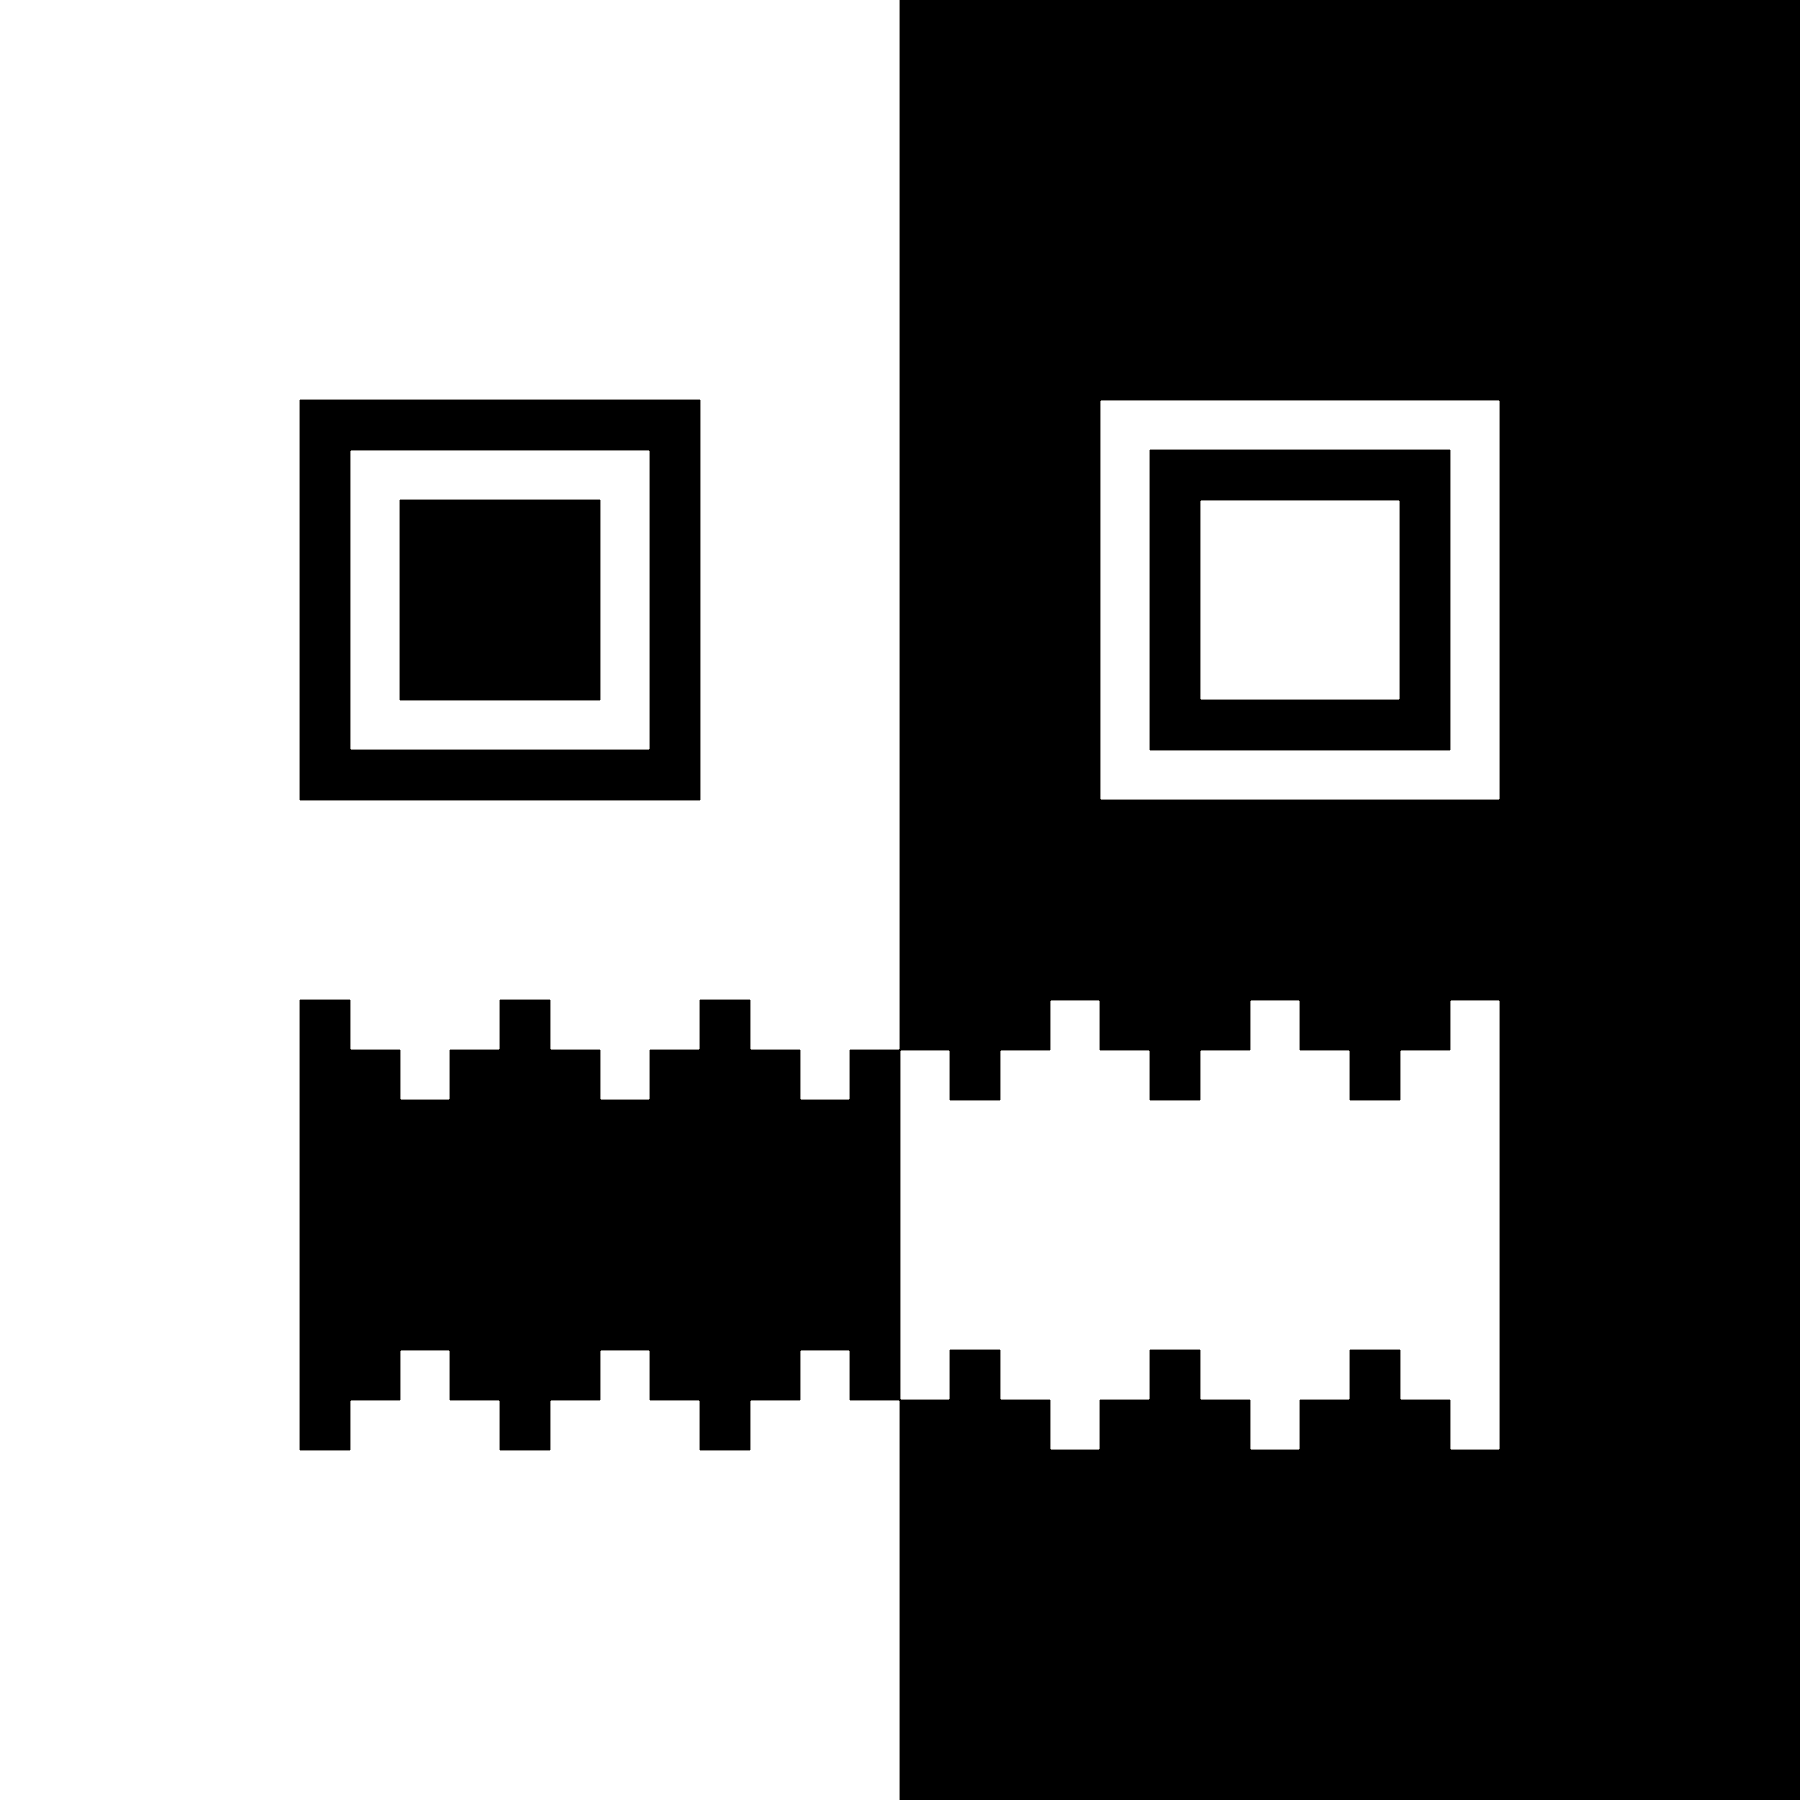
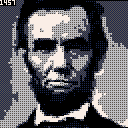
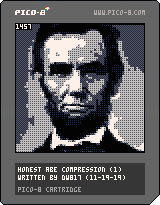
Having been experimenting with compressing screens of pixels I was wondering if it were possible to write a compressor that returned the results of a dithered image. That is, where the output results would be difficult or impossible to compress effectively using standard methods of image compression.
And this is a 1st stage. Tomorrow if I have time I'll work on and post the 2nd stage. If it's successful it will also dither an image but in a third of the current compression space (less than 512-chars) yet still span the full screen.
For instance this particular image compresses from 16384-chars (raw image) to 1457-chars. Obviously it does not include all 16-colors and instead relies on a black and white table that is a size of 5. Five because I want to have both solid black and white in it.
11 comments


MAKE CODE THE WAY YOU WANT IT.
As Tweets seem to be of interest, I thought I would share some shortcuts I have found over my time programming in Pico-8 which may save you vital characters to getting that desired 560-characters.
Let's look at some of the commands first:
PRINT
Can be abbreviated as ? if first character on line
RUN""
Not well-known will clear your variables and run your program again from the beginning.
LINE(a,b,c,d)
Leaving out c and d will draw line from last drawn position using default color.
RECT(a,b,c,d) and RECTFILL(a,b,c,d)
Leaving out c and d will draw hollow or filled rectangle starting from coordinates 0,0, default color.
COLOR()
By itself will choose color 6.
_SET_FPS(fps)
Instead of creating tricky timers, just force your code to run at this FPS, can be higher than 60 too, 120 is possible !
Test that with this code:
0 comments