


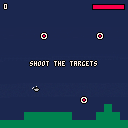
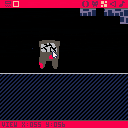
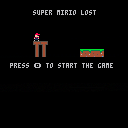
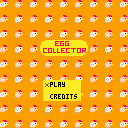
My first short, simple game attempt while learning some of the basics of PICO-8. There's a lot of collision issues and some Space Invader ripping off, but it's... a game?
 0 comments
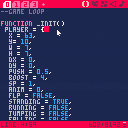
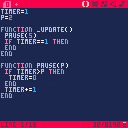
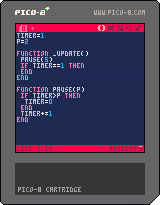
Hi, I made a pause/wait function. Feel free to use.
timer=1 p=0 function _update() pause(5)--Wait 5/30 frames then do what is in the if loop if timer==1 then end end function pause(p) if timer>p then timer=0 end timer+=1 end |
 2 comments


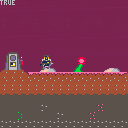
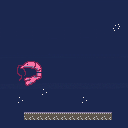
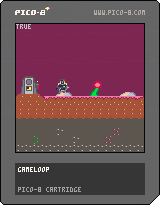
Play my new game,Blenter da Bungen.
Its a amazing platformer taking place in a dungeon with spikes bricks, and floaautuidf bueucgigywecty eye balls!!!!!!!!!!!!!!!!!!!!!!!!!!!!!!!!!!!!!!!!!!!!
i will be gratfi;ll i u plee gem.
pwees.
0 comments
I've looked around and found out that literally no one has posted anything about attempts to implement BASIC on the PICO-8, which honestly kinda disappointed me. BASIC is, well, basic, so I would have thought someone would have at least tried to implement it... and now I want to do it.
Thoughts?
3 comments


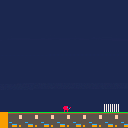
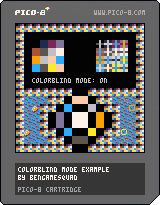
~ ~ INSTRUCTIONS ~ ~
Open the main menu (e.g. with Enter), toggle the COLORBLIND option, and then select CONTINUE to see the result.
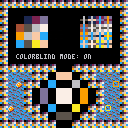
~ ~ INFO ~ ~
Hi all!
I've been messing around with PICO-8 after using it briefly a little while ago, and I've been having a lot of fun! But I was working on a game that involved a red ball on green grass, and I realized that this wouldn't be very accessible to a lot of players with colorblindness, even if the contrast was really nice for players without colorblindness. I decided, in my case, the best solution was to add a simple "colorblind mode", and that's where this code snippet comes from.
This is not perfect at all, but basically it manipulates the palette to give much better contrast in many situations for the three common types of colorblindness (red-blind, green-blind, and blue-blind), though most of all for red- and green-blindness, mainly focusing on shifting reds to orange and greens to blue (as suggested by the various accessibility manuals I looked at).
0 comments
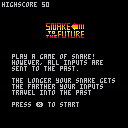
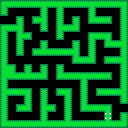
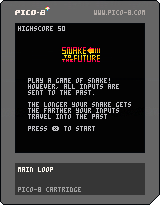
Play a game of Snake!
However, all inputs are sent to the past.
The longer your snake gets the farther your inputs travel into the past.
3 comments


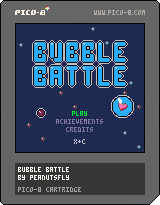
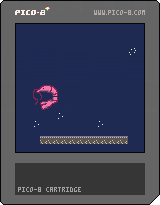
Bubble Battle

This second little PICO-8 game was created for the Mini Jam 84: Bubbles.
About the game:
In this game you play the heart that is kept alive in the sea by an oxygen bubble. To survive you have to collect oxygen. Watch out: dangers lurk in the water like dangerous poisons and bombs. Avoid or destroy them with the help of your oxygen, which can serve as ammunition!

During the entire duration of the game, your freedom of movement is restricted by a single accessible area in the water. Will you survive?
Unlockable achievements are integrated in the game for even longer fun in the game.
I hope you enjoy the game!
0 comments
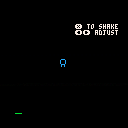
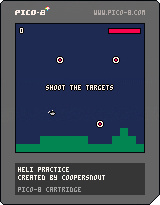
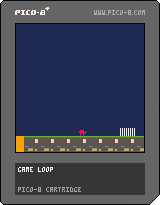
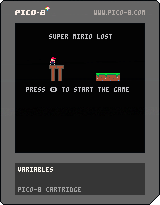
This is a little something I made learning to use Pico-8 recently. I know it's messy and simple, but I always have fun toying around with Pico-8!
Hold [x] for good fun!
0 comments

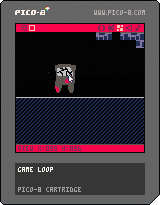
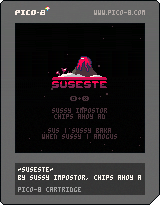
Description
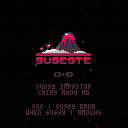
The sussy impostor has infected a volcano while you were setting up a... space... ship..? I don't understand it either lol. He just called a meeting (even though he's part of the lava, I honestly don't know how he became a separate part at this point), and is now going to overflow your fantasy console's memory.
Credits
@taco360 (creating Volcana)
@noel (creating the original Celeste)
18 comments


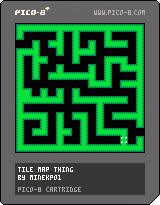
Greetings to all, I enter this forum for the first time to upload the cart I am working on, a tutorial of the fanzine that will become known to you and in which I have been adding things with the help of my good friend Jevilon who is helping me to understand this.
I have ported the game to version 0.2.0I in the hope that it will work on the Pocket Chip and thus continue modifying the code to kill the cart during the holidays.
0 comments

Hey, I've just triggered with profiling overlay you see in the top-right of the attached screenshot, and I cannot find how I enabled it. It would be nice to use since I was using my own custom profiler (printing stats) so far but this one has a nice graph and shows clearly when I drop to 30 FPS.
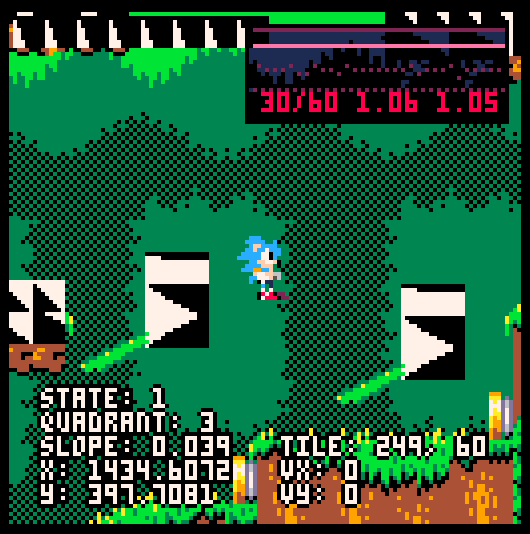
It really is an overlay, not part of the game. As a matter of fact, taking a screen capture with F1 with ignore the overlay!
As a hint, I was reload my game with a script that sends keystrokes Ctrl+R to the PICO-8 window. Maybe I pressed something else, or the keystrokes were not correctly registered at that time, and it triggered another shortcut; which I cannot find at all in the documentation!
Note: this happened in the editor, not the runtime binary version of PICO-8.
1 comment

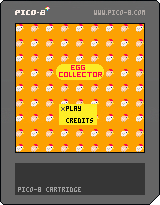
This is my port of an Android mobile game made by myself and my classmates for our Mobile Games unit.
0 comments

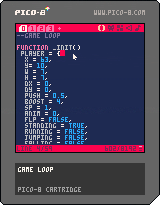
State Machines
A wrote (a couple variations of) a simple state machine manager. The code is on github under an MIT license. There are a couple demos down at the bottom of the page.
- state-machines-du (107 Tokens): each state has its own draw and
update methods - state-machines-st (111 Tokens): each state has setup and teardown
methods which are run only when the state is entered and exited
respectively
Usage
Creating a state machine
To create a new state machine use the 'new' method:
sm = state_machine:new() |
Adding states
After creating the machine itself you need to add states. A state
consists of four things:
- A unique name or identifier: Most likely a string but can be
anything as long as it's unique. - A transition function: This function is called once per cycle
and should return the identifier of the state the machine
should switch to. - An update (or setup) function: The update function is called
once per cycle and should update variables, etc. associated
with the state. For state-machine-st.lua, this is instead a
setup function which is only run once each time the machine
enters this state. - A draw (or teardown) function: The draw function is called
once per cycle and should draw everything relevant to the
state. For state-machine-st.lua, this is instead a teardown
function which is only run once each time the machine exits
this state.
Add a state to the machine using the 'add_state' method:
    sm:add_state(
       -- identifier
       'a state',

       -- transition function
       function()
          if btnp(5) then
    	 return 'some other state'
          else
    	 return 'a state'
          end
       end,

       -- update function
       function()
          if timer then
    	 timer += 1
          else
    	 timer = 0
          end
       end,

       -- draw function
       function()
          print(timer)
       end
) |
Using the state machine
-
state-machine-du.lua
Once you've created a state machine and added some states using it
is simple: Set the initial state then call the update and draw
methods.
        function _init()
           sm:set_state('a state')
        end

        function _update()
           sm:update()
        end

        function _draw()
           cls()
           sm:draw()
end |
The update method calls the current state's transition function
and changes the current state if necessary and then calls the
current state's update function. The draw method calls the current
state's draw function.
-
state-machine-st.lua
The setup/teardown version is basically the same except there is
no draw method and the update method does a bit more work, so all
you need is this:
        function _init()
           sm:set_state('state 1')
        end

        function _update()
           sm:update()
           -- whatever other update stuff you need to do.
        end

        function _draw()
           cls()
           -- whatever draw stuff you need to do.
end |
The update method in this version also calls the transition
function. If a state change is necessary, then the current state's
teardown function is called, then the current state is changed,
and finally the new state's setup function is called.
Demos
basic-sm
A very basic state machine with two states. Press X/V to switch from state 1 to state 2, Z/C to switch from state 2 to state 1.
2 comments