


I have figured out a very effective and token-saving method of creating scenes.
First, create a scene array called scnr(scene-running) and a variable called scn(for scene id). start it at 1
scnr={}
scn=1 |
inside of that array we create functions with comments to tell which is what
--[[_init]]--
scnr={
 --scene splash
 function()
  --some stuff here
 end,

 --scene title
 function()
  --some title stuff here
 end
} |
then inside _draw() we simply do:
--[[_draw]]-- scnr[scn]() |
Let me know if you guys know of another method thats more efficient.
 0 comments

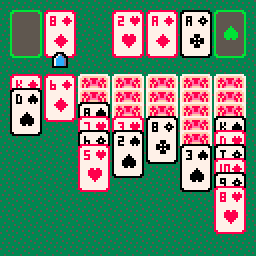
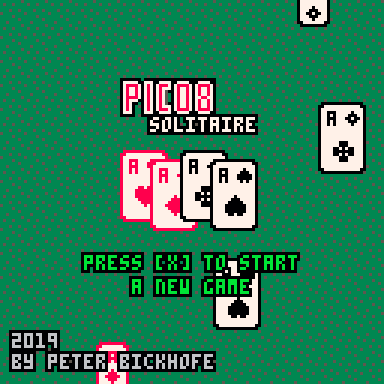
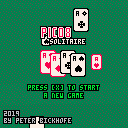
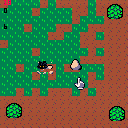
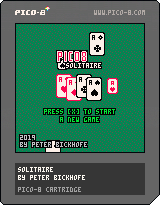
My first attempt to do a card game in pico8.
Entirely done on my pocket chip device during my two week vacation in egypt sitting by the pool watching the blue sky.
Sounds crazy? Yes, i guess.
Have fun!
6 comments


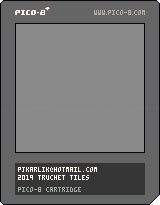
First demo with Pico-8 and Truchet tiles using a table of functions to emulate a switch/case statment. Just some simple algorithmic drawing based on some webGL stuff Ive done.
0 comments

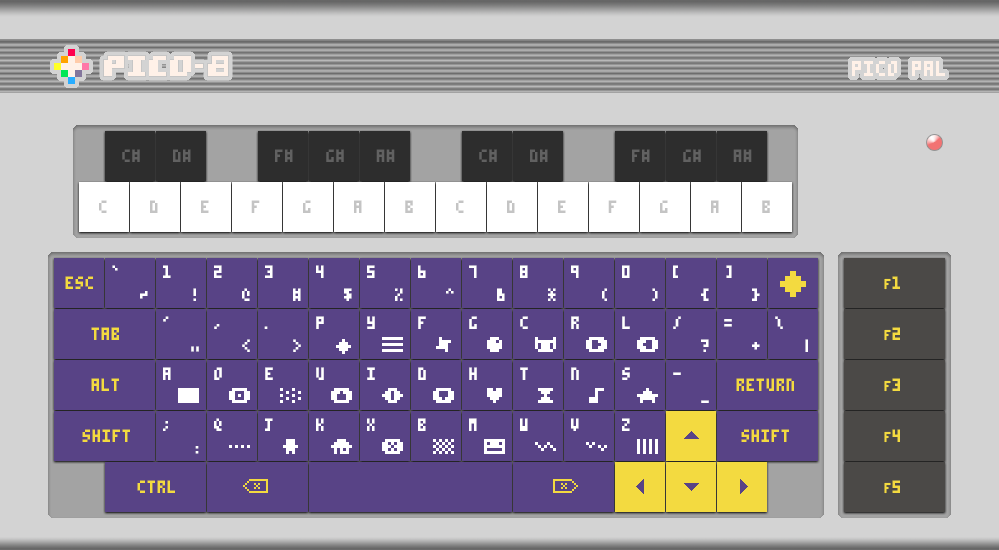
I spent some time today updating and streamlining my hardware concept for a Pico-8 console. I have a couple of people helping me make a 3D-Printable model for the case and plate, so this project might take shape fairly soon.
Once complete, I intend to share the files, along with a QWERTY version of the keycap template.
Here's a view of the sides:
![]()
1 comment

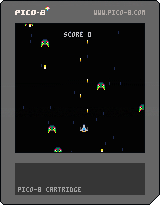
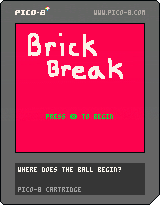
This game is something I have changed many of time through out the CIS 102 course, I will be updating this in the future. I want to be able to complete this for my friends to play and that I am proud of what they are playing.
0 comments


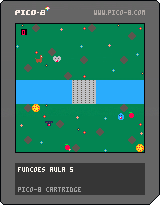
Here are the final results of my juicing and upgrading of the game! I might come back to this in a few months and redesign it again, but am unsure at this point.
 0 comments


Hello.
I'm making my own portable console based on Raspberry Pi Zero W and Pico-8 because ... everyone is doing it ... but also as a learning project.
I'm using PicoPI as OS because it's much lighter and faster than running on RetroPI. I tested the OS on Raspberry Pi Zero W and it ran fine. My next step is to run the project on a display. And this is where I have a doubt:
I was wondering how can I configure a 128x160 STI TFT LCD Display (this guy https://www.filipeflop.com/produto/display-lcd-tft-1-8-128x160/#tab-description) on the PicoPI's configuration.
I've looked everywhere, but informations about PicoPI is very scarce. Can someone help me?
ps.: Sorry my bad english.
2 comments


using google translate

I received a lot of feedback from the previous project, regarding whether it is possible to add a joystick so I got down to work to see if we can do this and not die trying.
What do we need:
- Read the awesome article by Eugene Andruszczenko(https://github.com/32teeth/html5-plugin-canvas-gamepad).
- Your PICO-8 html cartridge (html and js).
Now a quick lesson of what we are doing:
- 1) Adding the buttons (I add the info on .js of the game):
YOUR_GAME.js
CanvasGamepad.setup({
	start:false,
	buttons:[
		{name:"jump"}
	]
}); |
- 2) Mapping our controller detection on the game.js (you can found the complete code at the end of this article).
This is the line that make the magic:
game.js
//buttons

                if(map["a"] == 1){SimulateKey(90);}
		if(map["b"] == 1){SimulateKey(88);}

[ [size=16][color=#ffaabb] [ Continue Reading.. ] [/color][/size] ](/bbs/?pid=62249#p) |
1 comment