


I am making a background for my game, and have made a template for trees and mountains. I'm not sure which is better, what do you think?
Trees: (The current background)

Mountains:

Thanks in advance!


 2 comments



Wizard Game


My first Pico-8 game I've made in years. Any feedback is appreciated. Kill all the wizards!
4 comments


Someone else most likely already did this, but I didn't find it, so I made it.
The font from the Commodore 64 to be used in Picotron.
Feel free to use it for whatever you like.
podnet://12855/fonts/c64.font
https://podnet.flp.io/12855/fonts/c64.font
You don't actually need the file. You can just write:
fetch("podnet://12855/fonts/c64.font"):poke(0x4000)
in your _init()-function, to change the font.
Example:
function _init()
	fetch("podnet://12855/fonts/c64.font"):poke(0x4000)
end

function _draw()
	cls(0)
	print("Hello World!")
end
|
4 comments


In Brazil, the agreste 🌵 is a transition area between the wet coast and the dry sertão — not fully desert, but still harsh and natural
This is a mod of Celeste Classic https://www.lexaloffle.com/bbs/?tid=2145
Thanks to:
- Matt Thorson and Noel Berry @noel to create the amazing celeste game in pico8
- Pico8 community to provide amazing feedback
12 comments



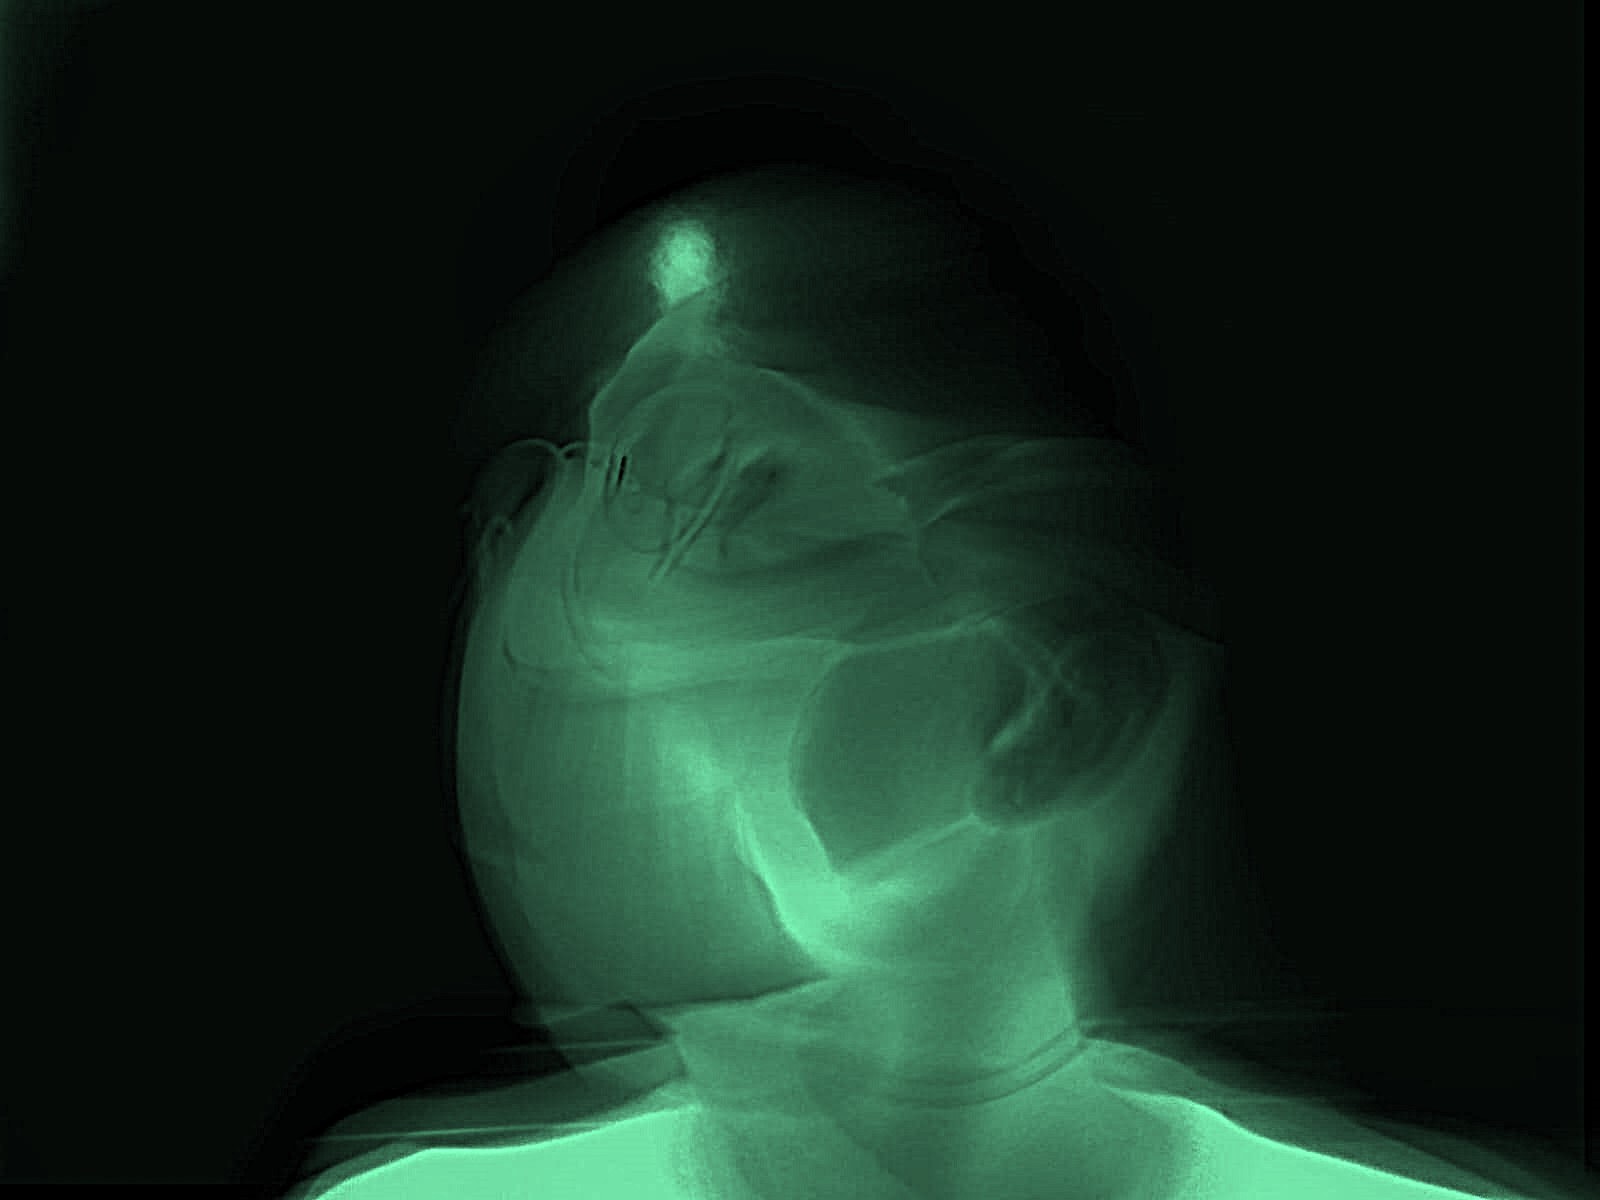


i did a web browser, uh yeah and also try pressing that question mark thing in the top right and scroll down until you find the one hyperlink there, thats where you get the bridge
note this will NOT work outside of the desktop version, maybe ill add a website constructor for people on the bbs, to where this project can still have some use taken from it.
2 comments
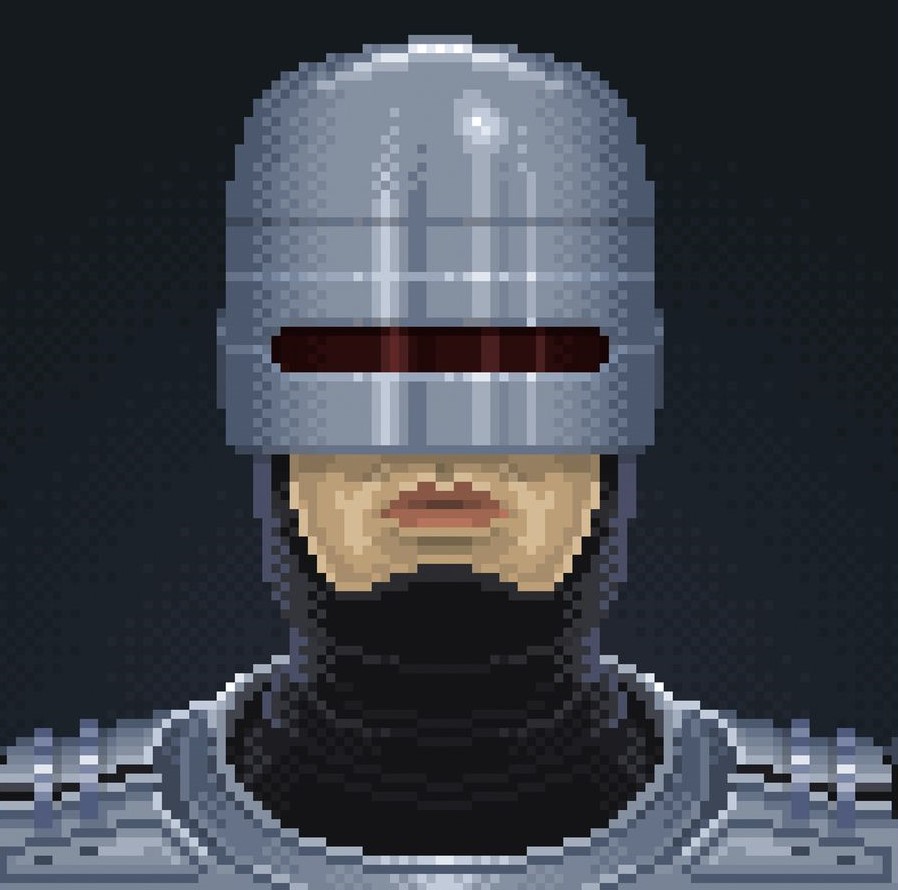


Hi all and thank you for clicking on my very first game, BotaPic!
If you are interested in the story behind it, you can check out my article. Amongst other things you’ll learn where the inspiration came from and what led to its development.
Here’s are the quick start rules:
Two players compete to build the highest scoring machine.
Each round, players draft tiles from a pool of 3 in the board phase. player 1 chooses first and last, player 2 chooses second
On the board, tiles are placed either in the middle column or in the player column, if they match the middle tile.
When middle tiles change, non-matching tiles are ejected and these tiles must be placed in your machine; connected them to the starting point to have them count.
To score points, you can connect same-coloured tiles (at least 3), attach flowers and fruits to similarly coloured pipes for extra points. You get extra points if your pipes have a small flower attached.
2 comments


Setup RG CUBE XX pico 8 theme

Notes:
- Always turn off your device before remove or insert the sd card
- ANBERNIC RG CubeXX bought on 2025. In case there is a new version
ANBERNIC RG CubeXX
Download Rufus
Download MustardOS 2502.0 Pixie
https://muos.dev/release/archive/2502_0
Instalation
- Use a good sd card (32 gb or more)
- Install image muOS-RGCUBEXX-H-2502.0_PIXIE-7c4e6a8f on sd card using Rufus
- Turn on your RG CubeXX and wait for instalation
- Turn off device and remove sd card
PICO-Cube Theme
- Download PICO-Cube.muxthm (PICO-Cube v1.4: Pixie) https://github.com/jimmyfinazzo/PICO-Cube/releases
- Place PICO-Cube.muxthm file on your device on SD1 or SD2 within the ARCHIVE folder.
- Insert the sd card again on your device
- Turn on the device
- Apps > Archive Manager > select PICO-Cube
3 comments


It's simple!
Find the exit!
Playable with mouse or touch
(menu to hide the mouse)
First step in game development. I wrote my own code and received a lot of feedback from AI to improve the structure.
Future project will be built using everything I’ve learned from this experience.
Enjoy!
Sorry the game is in french (:
--edit
New version rewritten using an entity-based architecture, and the mouse has been removed. Everything is button-controlled.

 2 comments


A game made for University of Bath Computer Science Society annual 24-hour Hackathon, Bath Hack 2026!
Vote for us on Devpost!! https://devpost.com/software/uni-survivors?ref_content=my-projects-tab&ref_feature=my_projects
2 comments


I've just run into an issue and am unsure whether it's expected behavior or a bug.
CLIP() seems to only consider screen space and is not affected by changes to the camera, which leads to visual issues when using both.

In the example, I'm only moving the camera and would expect both shapes to move together.
Here's the example code I used:
--camera clip issue
function _init()
 scroll={x=0,y=0}
end

function _update()
 if btn(➡️) then
  scroll.x+=1
 end
 if btn(⬅️) then
  scroll.x-=1
 end
 if btn(⬇️) then
  scroll.y+=1
 end
 if btn(⬆️) then
  scroll.y-=1
 end
end

function _draw()
 cls(0)
 camera(scroll.x,scroll.y)
 clip(54,54,21,21)
 rectfill(0,0,127,127,11)
 clip()
 circ(64,64,10,8)
 camera()
end
|
3 comments

Hello, I made a game about feeding trains.
The controls are as follows:
- Use the arrow keys to move your cursor
- Press the O button to spawn people, I mean, food for them
Have fun! I hope you enjoy the experience. I want to create more weird carts.
I personally hope YOU, the person reading this, have a good day.
If you have any ideas, please let me know. I really have no idea what to do with this. It is funny! :)

 4 comments


My first prototype of a flying game.
Instruction:
Up to to accelerate
right and left to make turns
Z (circle button) to shot
1 comment


HELL RIDER


A Night Stalker-inspired maze blaster for PICO-8
Laser bolts, phantom tech, and that early-’80s tension in your fingertips.
Special thanks to the original Night Stalker team at Mattel Intellivision — Steve Montero
(design/programming), Peter Allen (graphics), and Russ Lieblich (sound). You didn’t just make a game… you made a myth.
Night Stalker was, for me, the finest game on the Mattel Intellivision. At the time of its release, I didn’t “get it” at first — but after a few matches, it gripped me completely, and I fell in love with it.
CONTROLS
• D-PAD / Cursor keys: move
• Hold Z while standing still: aim + fire using the D-PAD (up / down / left / right)
STRATEGY
• Watch the robots. Learn their patterns.
• Use the rules of the mode to your advantage: once a robot fires, it can’t fire again until its shot is gone.
• In Hell Rider, only enemy shots can kill you. Everything else is pressure, panic, and positioning.
CREDITS
• Bat & spider sprites: @IvoryRed — CC BY 4.0
• Explosion FX: @atzlochtlan — CC BY-NC-SA 4.0
• Game code, original sprites, systems, design: LemSoft (Francesco) @VSTR
LICENSE
This project is released under CC BY-NC-SA 4.0
(Attribution required • Non-commercial • Share alike)
⸻
A NOTE FROM THE AUTHOR
(and a confession)
I can’t code. Like, truly. So I did what that old Atari AD for Yar’s Revenge joked about: I played the “director”… and ChatGPT became my faithful co-pilot.
[hidden]
But this wasn’t a slick commercial where you say “good morning” and a game pops out fully formed. What actually happened was a lot more real (and a lot more fun): nights spent tuning movement pixel by pixel, wrestling token limits, adding counters, writing down results, rolling back changes, breaking things, fixing them, getting demoralized, occasionally half-hallucinating from fatigue… and then laughing and pushing forward again.
Hell Rider didn’t appear by magic. It was built through stubborn iteration — and without this technology, it would’ve stayed trapped in my head forever.
FUN FACT (feel free to skip)
“Hell Rider” isn’t a new name for me. Back in the day, my group of friends and I (we called ourselves Lemsoft because we loved Atarisoft) started a game called Hell Rider on the Texas Instruments TI-99/4A — yes, in assembly. I handled the graphics and the ideas. The game was closer to Pitfall II than Night Stalker, and we even had chunks of levels drawn on the ZX Spectrum and exported as SCREEN$ for the TI.
Then time ran out, school pulled us apart, and the project died unfinished.
So if this new Hell Rider gives you even a few minutes of that “’80s player mode” feeling, I’ll be genuinely happy.
0 comments


Once Upon A Time...
After a long journey and a grueling boss battle, the HERO emerges victorious, in part due to aid supplied by the HERO'S GUILD. Now that the DEMON LORD is defeated, the HERO begins to think. Maybe there is more to life than this hero business. The HERO resolves to leave the GUILD... but how does that whole process go, anyway?
Notes
This is my first ever pico-8 game! I decided to teach myself while on spring break. There is currently no music.
This game is also available on itch.io
Attribution
Dialogue Box Code by Rusty Bailey
4 comments


Note
These steps worked with:
- windows 10
- Raspberry Pi 5 OS Lite (No Desktop)
- picotron_0.3.0b_raspi
Instal raspberry pi os lite (No Desktop)
On your raspberry pi
- Configure user/password pi/pi.
- Enable ssh
for more info, https://www.raspberrypi.com/documentation/computers/getting-started.html#install-over-the-network
Update and install packages
sudo apt update sudo apt upgrade -y sudo apt install -y libsdl2-2.0-0 libsdl2-dev libdrm2 |
Enable autologin
Still on your raspberry pi
sudo raspi-config |
for more info, https://www.raspberrypi.com/documentation/computers/configuration.html#raspi-config
Download, copy and paste picotron to raspberry pi via ssh
This time on your windows pc
- download picotron raspberry pi version (picotron_0.3.0b_raspi)
- extract
It should have these files:
- lexaloffle-picotron.png
- license.txt
- picotron
8 comments

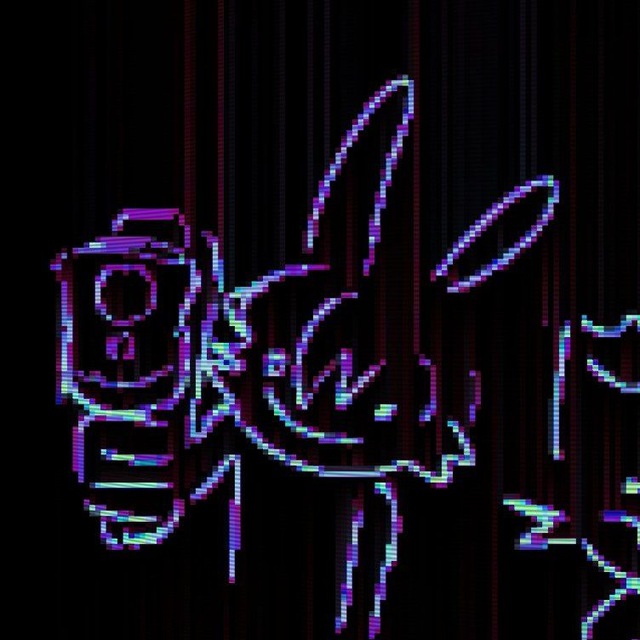
More music covers and an updated visualizer for yall!
Here I tried a new way of visualizing the noise instrument: instead of drawing a wave with random values at every position, I'm just filling the box with static with pixel density dependant on noise pitch and heigh also depends on volume. So now it also observes noise pitch. Still doesn't do anything when the NOIZ is toggled though, so if you have any ideas on how to do that feel free to reach out.
How to use: copy the code from this cartridge to your music cart OR copy the music into the visualizer cartridge. You can also run the visualizer cart like this: "run myothersongcart.p8" and it'll load the music from the specified cartridge. Go into the _init section to edit the color, render mode, or add titles/lyrics.
What can it do: visualize your music. It uses stat() to see which part of the song is playing and sees the memory to get the data about the notes. If you want to publish a visualization of your tunes using this code, please make sure to credit me somewhere.
3 comments


