


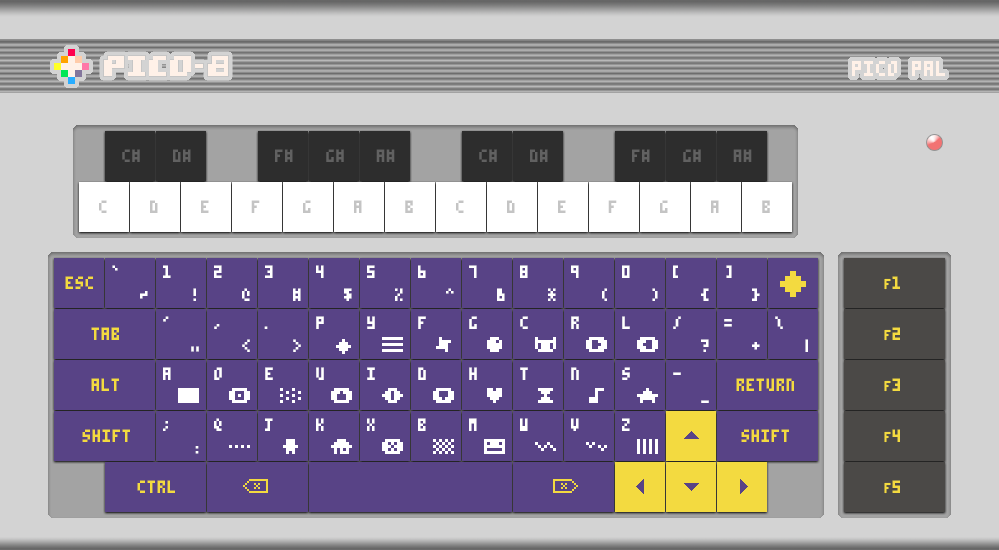
I spent some time today updating and streamlining my hardware concept for a Pico-8 console. I have a couple of people helping me make a 3D-Printable model for the case and plate, so this project might take shape fairly soon.
Once complete, I intend to share the files, along with a QWERTY version of the keycap template.
Here's a view of the sides:
![]()
 1 comment


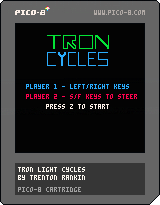
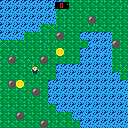
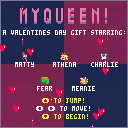
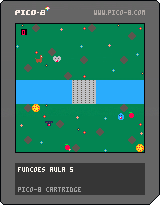
This game is something I have changed many of time through out the CIS 102 course, I will be updating this in the future. I want to be able to complete this for my friends to play and that I am proud of what they are playing.
0 comments


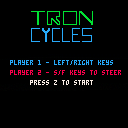
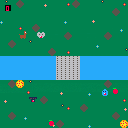
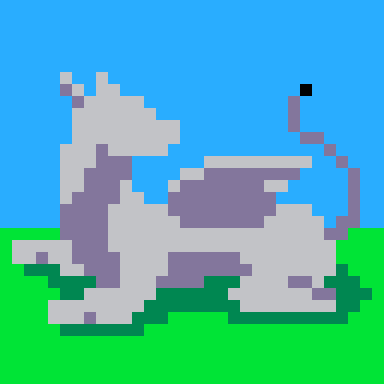
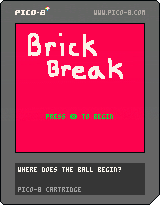
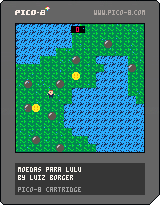
Here are the final results of my juicing and upgrading of the game! I might come back to this in a few months and redesign it again, but am unsure at this point.
 0 comments


Hello.
I'm making my own portable console based on Raspberry Pi Zero W and Pico-8 because ... everyone is doing it ... but also as a learning project.
I'm using PicoPI as OS because it's much lighter and faster than running on RetroPI. I tested the OS on Raspberry Pi Zero W and it ran fine. My next step is to run the project on a display. And this is where I have a doubt:
I was wondering how can I configure a 128x160 STI TFT LCD Display (this guy https://www.filipeflop.com/produto/display-lcd-tft-1-8-128x160/#tab-description) on the PicoPI's configuration.
I've looked everywhere, but informations about PicoPI is very scarce. Can someone help me?
ps.: Sorry my bad english.
2 comments

using google translate

I received a lot of feedback from the previous project, regarding whether it is possible to add a joystick so I got down to work to see if we can do this and not die trying.
What do we need:
- Read the awesome article by Eugene Andruszczenko(https://github.com/32teeth/html5-plugin-canvas-gamepad).
- Your PICO-8 html cartridge (html and js).
Now a quick lesson of what we are doing:
- 1) Adding the buttons (I add the info on .js of the game):
YOUR_GAME.js
CanvasGamepad.setup({
	start:false,
	buttons:[
		{name:"jump"}
	]
}); |
- 2) Mapping our controller detection on the game.js (you can found the complete code at the end of this article).
This is the line that make the magic:
game.js
//buttons

                if(map["a"] == 1){SimulateKey(90);}
		if(map["b"] == 1){SimulateKey(88);}

[ [size=16][color=#ffaabb] [ Continue Reading.. ] [/color][/size] ](/bbs/?pid=62249#p) |
1 comment

.gif)

Hi there! I've fallen in love with Pico8 over the past few weeks. This is my first post here on the forums, and I thought I would share my Pico Pi project with you all :)
I am in the planning phase of this project, the purpose of which is to create a dedicated Pico8 machine in the style of the Commodore 64, using only keys that the Pico8 software utilises.
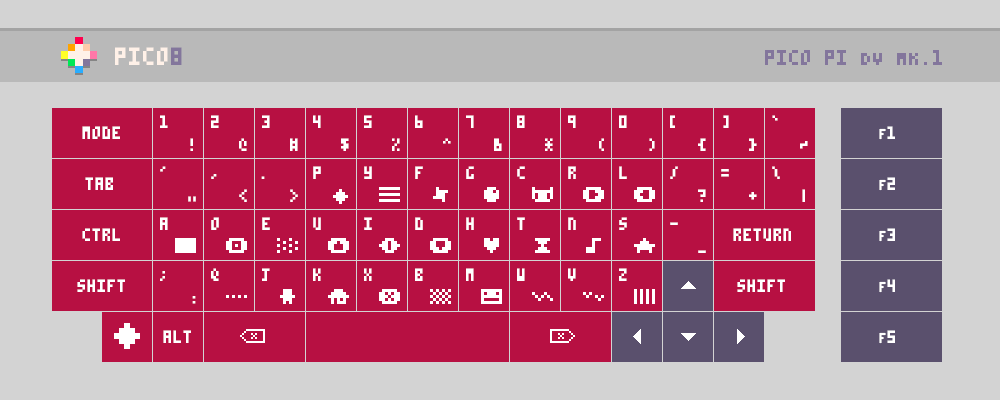
Planned Features:
- Ortholinear DVORAK key layout (can make key template file for QWERTY version available)
- Primary and Shift characters printed on each key
- Side-loading floppy disk drive and SD card reader for loading physical game carts
- Two front usb ports for controllers
- Rear ports: HDMI, Ethernet, USB, Power, (and RCA, for old TVs, if I can manage it)
- PICO8 logo key is actually the PAUSE key
I'm planning to hand-wire the key switches to an Arduino Pro-Micro inside the case, which will connect internally to the Raspberry Pi via USB. I also want to create custom controllers that can plug into the front of the unit via USB.
2 comments

using google translate
[tweet]
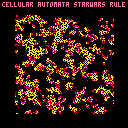
At the beginning of the year I started using PICO-8 when I found out that Celeste was born from such a simple concept.
The first thing I could discover using PICO is that you can export to html...
if you can use HTML you can visualize it directly on Android using a tool called WebView.
This is a step-by-step tutorial to use your PICO-8 cartridges on your Android phone, let's begin shall we?
What do we need:
- Android Studio(https://developer.android.com/studio/).
- Your PICO-8 html cartridge (html and js).
Now we need to understand what we are going to do:
1) create an application on Android (the classic helloworld: https://developer.android.com/training/basics/firstapp/).
2) Add the WebView tool to your app (https://jgvcodigo.blogspot.com/2017/12/webview-android.html).
3) Add the controls on the html file of your cartridge.
You can use the following template and call your .js file:
7 comments


