
Welp
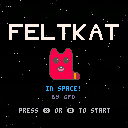
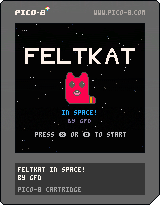
It's feltkat! In space!
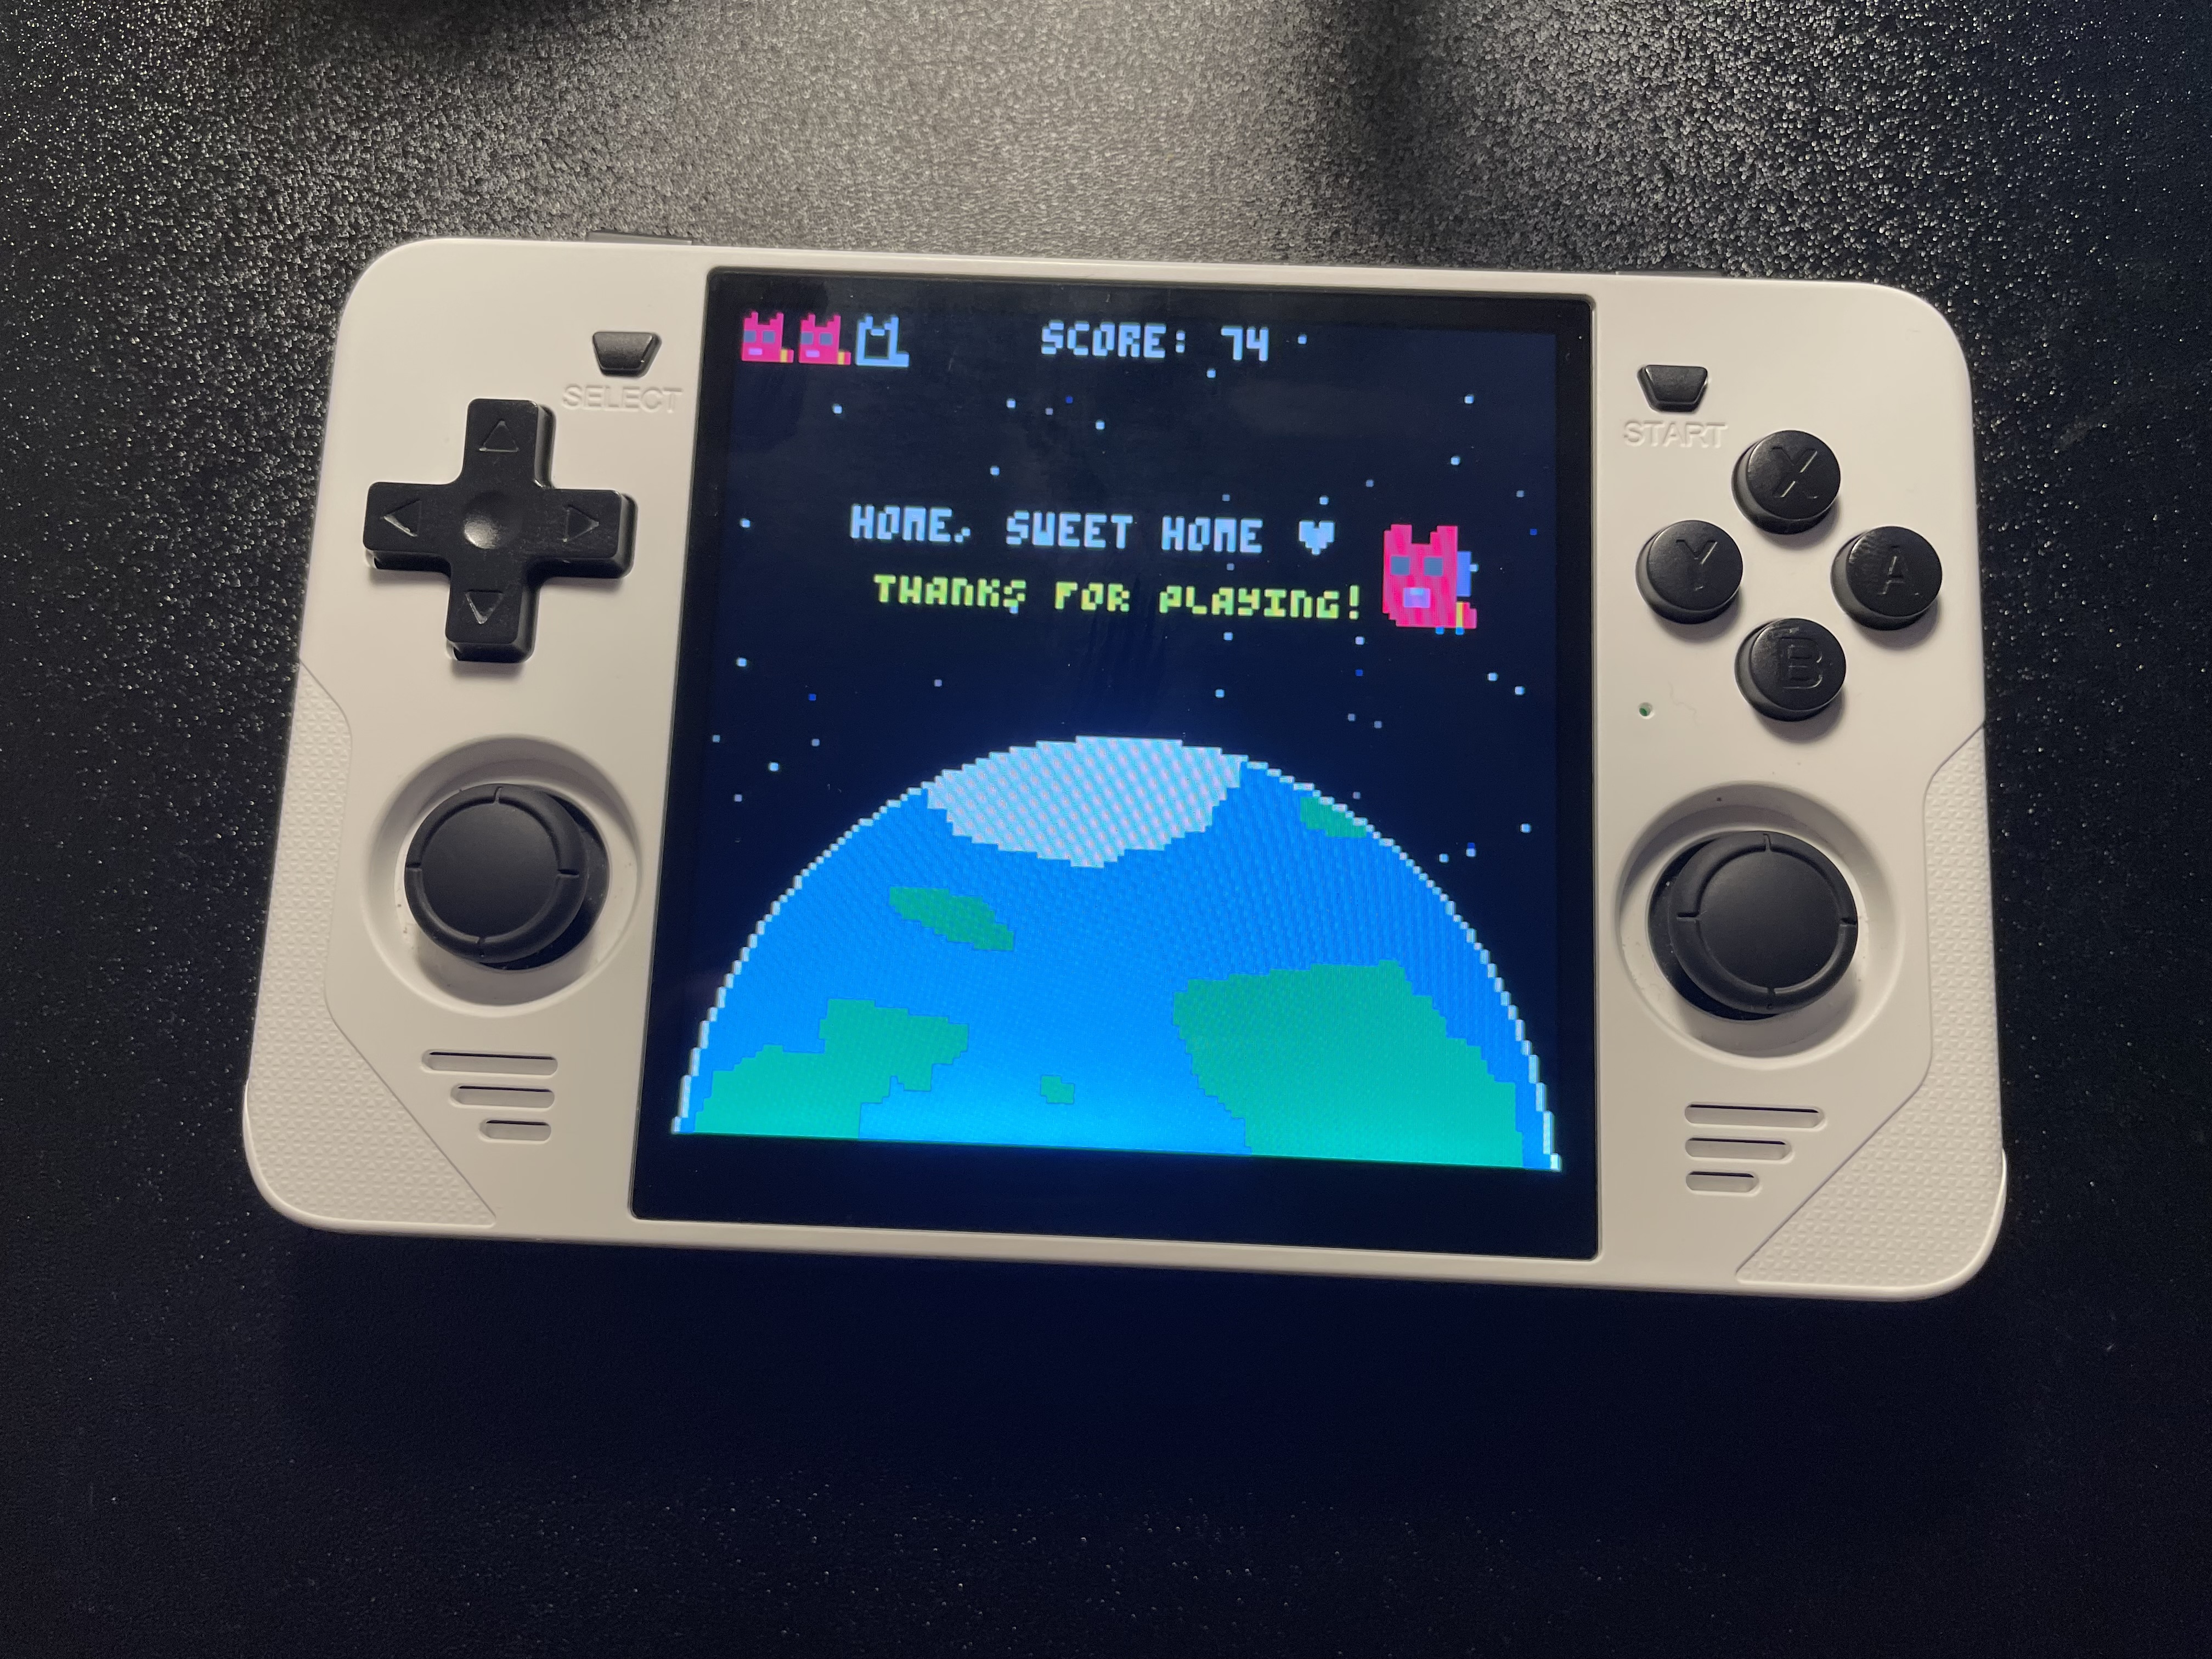
This is a fan game about feltkat by Amatrine. Use the directional buttons to move, collect coins, and avoid spacerocks. Help feltkat make it to the planet!
This is my second game ever, so the code isn't very good, but I had a lot of fun making it! There's one extra life at 20 coins, one at 40, and one at 70, but they only spawn if you've lost one or more lives. Feedback is appreciated :D

See if you can beat my high score!
 5 comments


Read all steps before proceeding with the installation. Feedback is appreciated!
- If you want to avoid the headache of Step 4, I recommend using a Pi or other Linux computer to write the installation image to the SD card! It can be the same Pi you use for the Lite installation, you just need to switch SD cards to change OSs.
Hello everyone,
I haven't seen any tutorials for doing exactly this so I thought it would be helpful if there was a guide for anyone who specifically just wants a little portable machine that launches PICO-8 after booting, and without using Retropie or a desktop environment. This installation won't have a super fast boot like PICOPi (https://github.com/keints/picopi) but it will have online functionality and will be a great starting point for a physical fantasy console project.
The whole process takes about 45 minutes to complete
Things you will need:
- The latest PICO-8 for Raspberry Pi zip: https://www.lexaloffle.com/games.php?page=updates
- Raspberry Pi (any model) setup with a display and keyboard
23 comments


EDIT: I made a text guide! You can read it here: https://www.lexaloffle.com/bbs/?tid=140366
I learned how to make a minimal Raspberry Pi OS image for the Pi Zero W that boots up and goes straight into PICO-8, no desktop or anything. I could maybe upload a .img of it or just make a video tutorial. I can't find any current distro that does just this, only PicoPi, which isn't officially supported anymore. I don't make content or have an online presence or anything, I just thought maybe someone should do it. What do you all think?
EDIT: Feel like I should clarify that one would have to provide their own PICO-8 but once it's in the right place it runs it after booting. I wouldn't include it in my .img file
4 comments