


Read all steps before proceeding with the installation. Feedback is appreciated!
- If you want to avoid the headache of Step 4, I recommend using a Pi or other Linux computer to write the installation image to the SD card! It can be the same Pi you use for the Lite installation, you just need to switch SD cards to change OSs.
Hello everyone,
I haven't seen any tutorials for doing exactly this so I thought it would be helpful if there was a guide for anyone who specifically just wants a little portable machine that launches PICO-8 after booting, and without using Retropie or a desktop environment. This installation won't have a super fast boot like PICOPi (https://github.com/keints/picopi) but it will have online functionality and will be a great starting point for a physical fantasy console project.
The whole process takes about 45 minutes to complete
Things you will need:
- The latest PICO-8 for Raspberry Pi zip: https://www.lexaloffle.com/games.php?page=updates
- Raspberry Pi (any model) setup with a display and keyboard
- SD card or microSD card (depending on the model of Pi) at least 16GB
- SD card reader
-
Windows/macOS/Linux computer with internet access (this can also be a Pi, in fact it can even be the same Pi if you have two SD cards!)
- Optional: USB thumb drive to transfer files from your PC to the Pi
- Optional: Second SD card to install a desktop version of Raspberry Pi OS to transfer files to your "Lite" installation
Step 1: Download & install the latest Raspberry Pi OS Lite image
Step 2: Setup Raspberry Pi OS
Step 3: Update Raspberry Pi OS and install PICO-8 dependencies
Step 4: Copy and extract your PICO-8 zip to your Pi user's home directory
Step 5: Create a startup script
Troubleshooting
-
No sound
If there is no sound, go back to theraspi-configtool and selectSystem Optionsand thenAudioand make sure audio is being routed to the correct output device. -
The command line doesn't show the usual prompt or display PICO-8 after logging in
Usually this is because PICO-8 starts and bash runs in the foreground. Try pressing Ctrl+C and wait to see if the command prompt appears after a few moments. I've found that adding thesleep 15command to the first line of the startup script avoids this issue. If anyone knows what causes it any info would be appreciated! - A number of SDL-related errors are displayed, but no PICO-8
Happens because PICO-8 starts too early after login. Press Ctrl+C to terminate the process and try adding thesleep 15command before yourecho "Starting PICO-8..."command in the startup script.
A few notes
- While the goal is to effectively create a physical fantasy console, remember that the Raspberry Pi is still a real computer with an OS that is connected to the internet. It's good to upgrade packages every so often to fix issues and keep your system secure. If you've completed this tutorial, you should now know how to check for updated software packages and how to install them. If this sounds like a hassle, I would recommend considering keeping your installation offline. Or you can learn how to automate the process of keeping your system up to date. The world is your oyster!
Hope this was helpful! If this is your first experience with a Pi or Linux, I can promise you it isn't normally this much work to get an OS setup. You can always install the desktop version of Raspberry Pi OS (or any other OS) and use it just like you would use a Windows or macOS computer. I hope you'll continue to explore and learn how Linux works, maybe you can write a better guide than this one! See if you can figure out how to get the Pi to shutdown by itself after shutting down PICO-8 ;)

one note: no need to use sudo to run chmod on a file you own! also, the goal of chmod +x is to let us run a script with ./start-pico8 rather than sh start-pico8! this is great because it means you don’t need to know if an executable is a shell script, a python program, a native binary: it’s just an executable and you run it like all executables :]
but are you sure you can run reboot without sudo?
Thanks for teaching me this @merwok! I just assumed you couldn't run a script without putting sh beforehand, I'll update the guide. As for the reboot command, I've just always typed reboot and it has worked, should I be doing it with sudo ?
no, the rule is to only use sudo when necessary! if reboot alone works it means the system is configured to allow the pi user to control power, which is good and convenient
Thanks for the info. I'm still figuring out a lot about how to use Linux OSs, I'm always happy to learn new things about good practices and how it all works
Thanks for this. This guide works flawlessly with my Raspi 4 and official Raspi touch screen. What else do I need for thhis to boot up using the composite out?
Hey @KidColeco! Glad the tutorial worked out. I don't have a Pi or TV with composite input to test it right now but I'm pretty sure you can find the toggle for composite out in the raspi-config tool somewhere! I'll edit this comment after I can check.
This tutorial worked with my Raspberry Pi 3B+ as well. When I switch to composite out within raspi-config I can see the rainbow color screen and then all black. It works fine connected to my official Raspi touchscreen. I can't get it to work through composite.
one note: libsdl2 is needed, not libsdl2-dev
(edit: other libs too… will look for more info when I get a chance to boot my raspi)
Hey again @merwok, I can't find a package that's named just libsdl2 on Raspberry Pi OS bookworm repos. However, there is a package named libsdl2-2.0-0. Following this guide but replacing libsdl2-dev with libsdl2-2.0-0 will result in a message that says ** FATAL ERROR: Unable to create window, but if you subsequently install the packages that libsdl2-dev installs PICO-8 boots right up. I'm not really sure what is fixing the issue but I can't get it to work without libsdl2-dev. As for the composite out, I'll have an opportunity to investigate that this weekend and see if there's something I'm missing that would enable that functionality.

This is awesome! I created a similar guide for auto-boot Pico8 on Ubuntu 22.04 (laptop): https://www.lexaloffle.com/bbs/?tid=142426

This guide was a great help for getting my pi 3B+ running! Alas... now I too am stuck trying to get the composite out working. HDMI is fine. Composite shows the linux command line text on boot just fine, but once pico-8 boots, composite becomes black screen whilst sound continues to work. I'm running the pico_64 version. I guess I can try other versions, and older pico-8 builds. Did any of you find a solution for composite that works? @gfd @merwok
Hey @dannycisco, I did find a resource (https://www.raspberrypi.com/documentation/computers/config_txt.html#composite-video-mode) that explains how to enable composite video but I haven't tried it myself. I moved since writing this guide and don't have any composite cables for my pi at the moment so I need to order one. Let us know if you get the black screen figured out!

Thanks for the tuto
I followed up to installing pico-8’s dependencies then just added ”/home/pi/pico-8/pico8_dyn -splore” to /home/pi/.bashrc
I’m on a 3a+ btw
thanks @gfd no luck yet. I think I might start again with a 32bit OS...
UPDATE:
I got it working.
I found it easier to troubleshoot composite first, before installing pico-8 dependencies.
The problem was a black screen after the raspberry logo, which turns out to be a problem with the KMS driver, so switching KMS to FKMS in the config.txt solved it.
Once I got the comandline working with composite, then i continued the rest of the setup via the TV out
I used the 32bit legacy lite OS... (but Fake KMS is probably all it needed)


I'm so close yet so far!
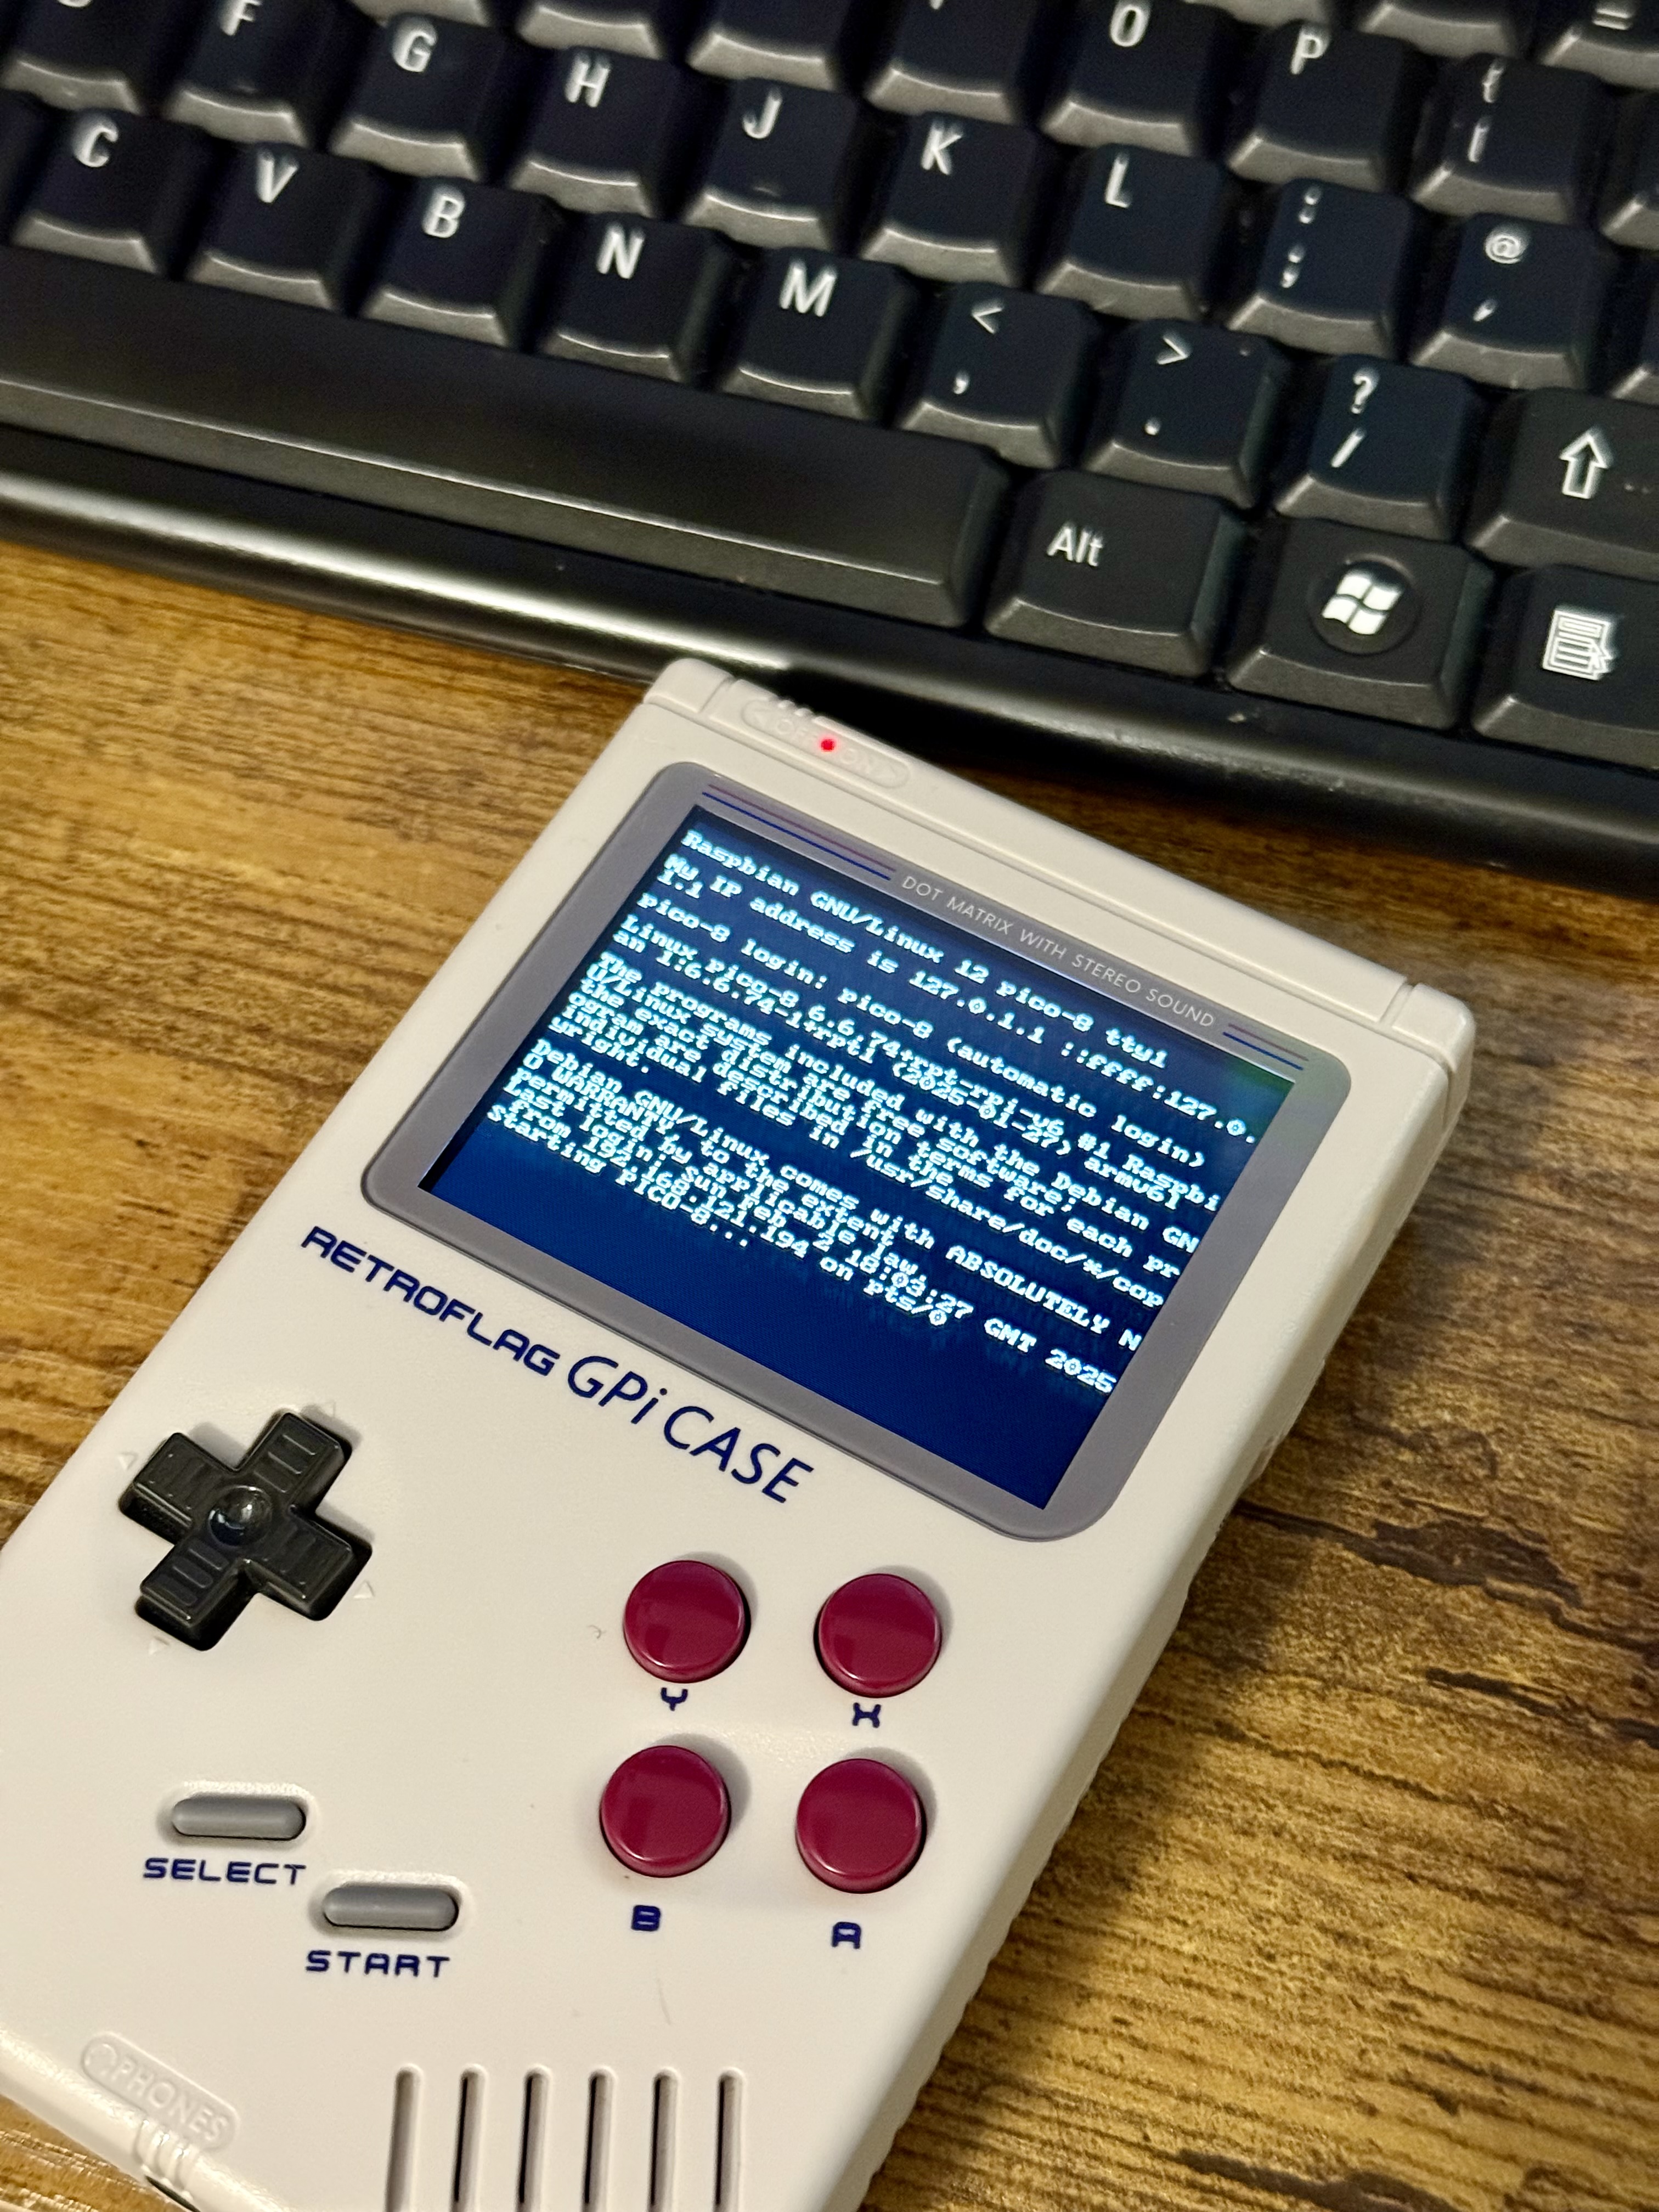
I've been using a Raspberry Pi Zero W in the original cartridge based RetroFlag GPi case. I follow it all perfectly and I'm able to get the GPi case displaying. I'm not sure if anyone has had this issue but after executing "Starting PICO-8...", regardless of if it sleeps or not, it never starts!
I'm going to keep trying but I have no idea what to try next!
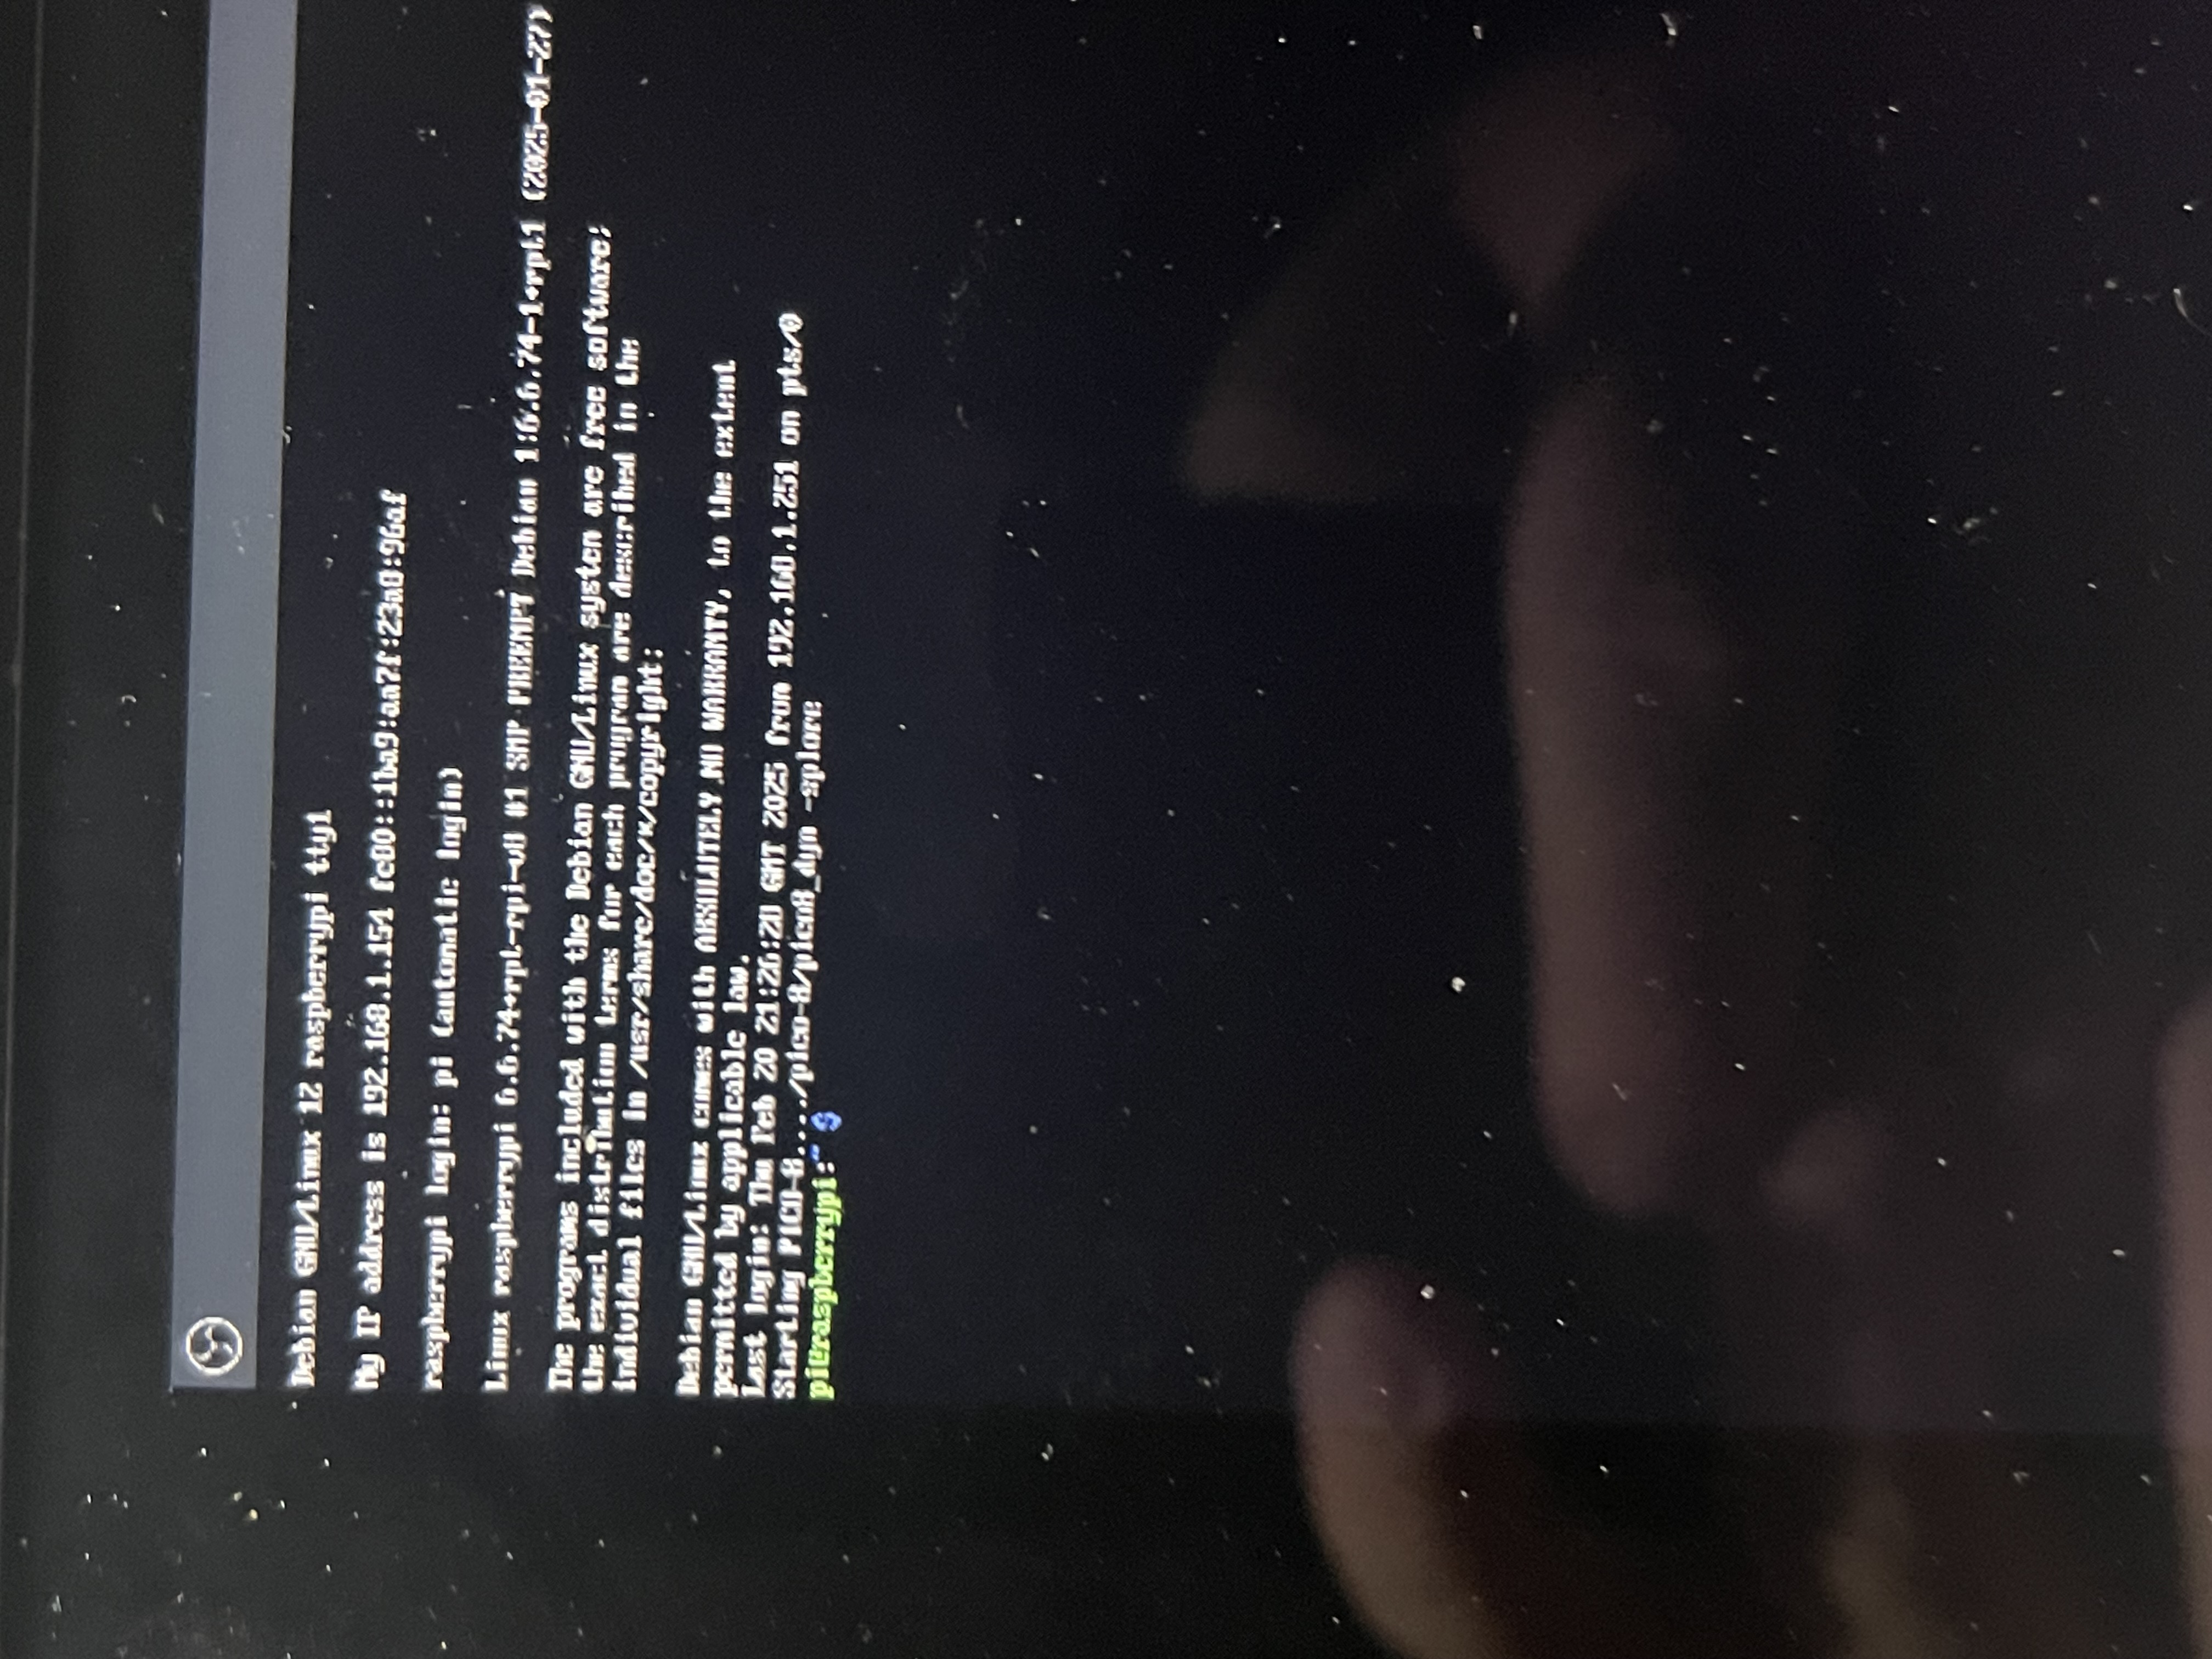
Update:
Incredibly frustrating but making progress. Your tutorial isn’t the issue in fact I can see on HTOP the code works. The CPU is busy and the command worked in launching the game, it’s just not displaying to the screen! Gah!


Thank you for the guide! I've followed it twice now and always end up with the same problem. Permission denied. I've tried sudo, I've tried chown, but I always get the same result. Alas, I am a linux noob and as soon as something like this happens I fear I am forever stuck. Any tips would be appreciated!
EDIT: I kept trying CHMOD commands and finally got pico8_dyn to run! Nothing to see here! :D

Im trying this tutorial and am getting stuck with "Permission denied". Ive tried a bunch of CHMOD commands but it still says "Permission denied" and im not sure what else to do. I think it could also be an issue with my file transfer but idk. My file is in /home/<username>/ but im not sure about the "rootfs" part of the tutorial. If anyone could clarify that section for me id really appreciate it!
EDIT: I managed to get it to work by changing the "startpico8.sh" script from pico8_dyn to pico8_64 and then following the rest of the steps as normal. Not too sure why that difference mattered but glad i got it working

I am stuck on the libsd12-dev. It says [E: unable to locate package libsd12-dev]
I am using raspberry pi 3B+
new to this whole thing, I have tried for hours to get this up and running but continue to get the permission denied when I try to launch at step 5. I have tried above fixes like chmod755 and the _64(even though I'm running 32bit)no luck. any help woul be greatly appreciated.
update.unzipped the pico8 file from command line and everything works, also found a place where I typed sart instead of start.
[Please log in to post a comment]