Hey friends. I was looking into how to do a fully custom cartridge label image. The only posts about it I found on the BBS involved creating the image painstakingly from 256 separate sprites, or using a script to muck around with the final .p8.png file. I wanted to have a quick and clean way to export from Aseprite into the format that Pico-8 saves into when using Ctrl-7. That way I can iterate on my label and my game independently of one another, with no extra steps.
Fortunately, Aseprite allows custom scripts to export things. In lua, no less! Here's what you need to do:
Make a 128x128 indexed image.
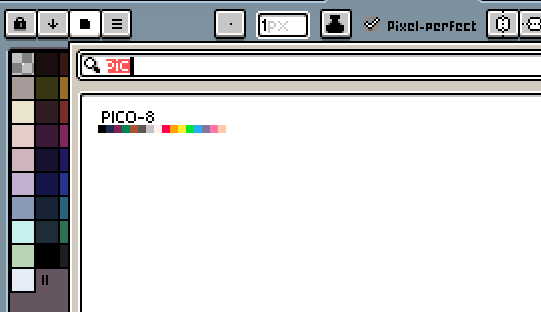
Select the Pico-8 palette.

Middle click on a color you don't intend to use in your image. That will set that color as the "transparent color" that will be erased to.
Draw your cartridge label to your heart's content. Save it as a .png file.
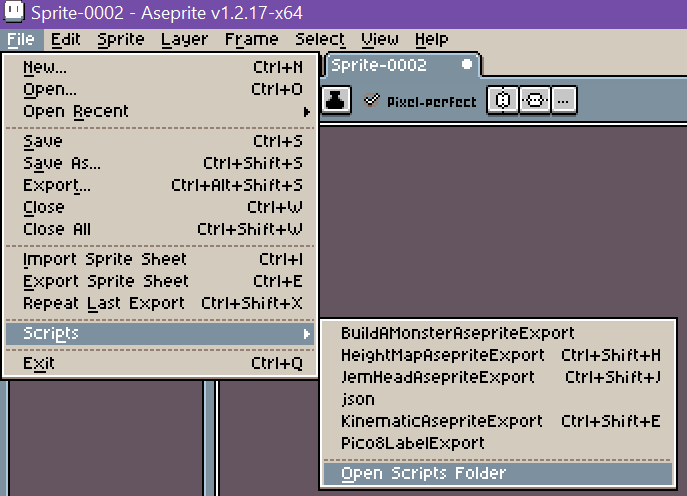
In File->Scripts, click on Open Scripts Folder.

In the resulting folder, save the following code snippet as Pico8LabelExport.lua:
local sprite = app.activeSprite
local image = app.activeImage

app.transaction(function()
    local outputFilename = string.gsub(sprite.filename, ".png", ".txt")
    file = io.open(outputFilename, "w")

    for row=0,127 do
        for col=0,127 do
            pixelColor = image:getPixel(col, row)
            file:write(string.format("%x", pixelColor))
        end
        file:write("\n")
    end

    file:close()
end) |
Close and reopen Aseprite, to make sure it notices the new script. Open your .png, and click File->Scripts->Pico8LabelExport.lua. You will then have a .txt file next to your .png.
To find out where those hex characters go, open your cart in Pico-8. Press Ctrl-7. It will create the label block of data. Replace it with the contents of the .txt file.
Have fun!
Bill Clark
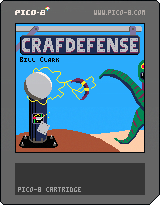
My first (partially completed) cart:

[Please log in to post a comment]


